Michelle is back today with the second post for The Crafty Project. You can read all about part one HERE.
I’m back again with another post for The Crafty Project. Let’s just say that this post comes to you after lots of blood, sweat and tears. Today I am showing you how I have set up the Crafty section of my Filofax. I have created a lot of custom inserts for this section, and even though I have not used word properly for probably over ten years now, it was very easy and fun. I may actually be addicted. 😀 On the other hand, getting my poor printer to actually print them. A complete other story. Anyway, back to the point…
To separate the two sections – Craft and Life – of my Filofax I am using different colour dividers. The crafty section is represented by the cream Filofax dividers, kindly sent to me from Janet with Mr Filo.
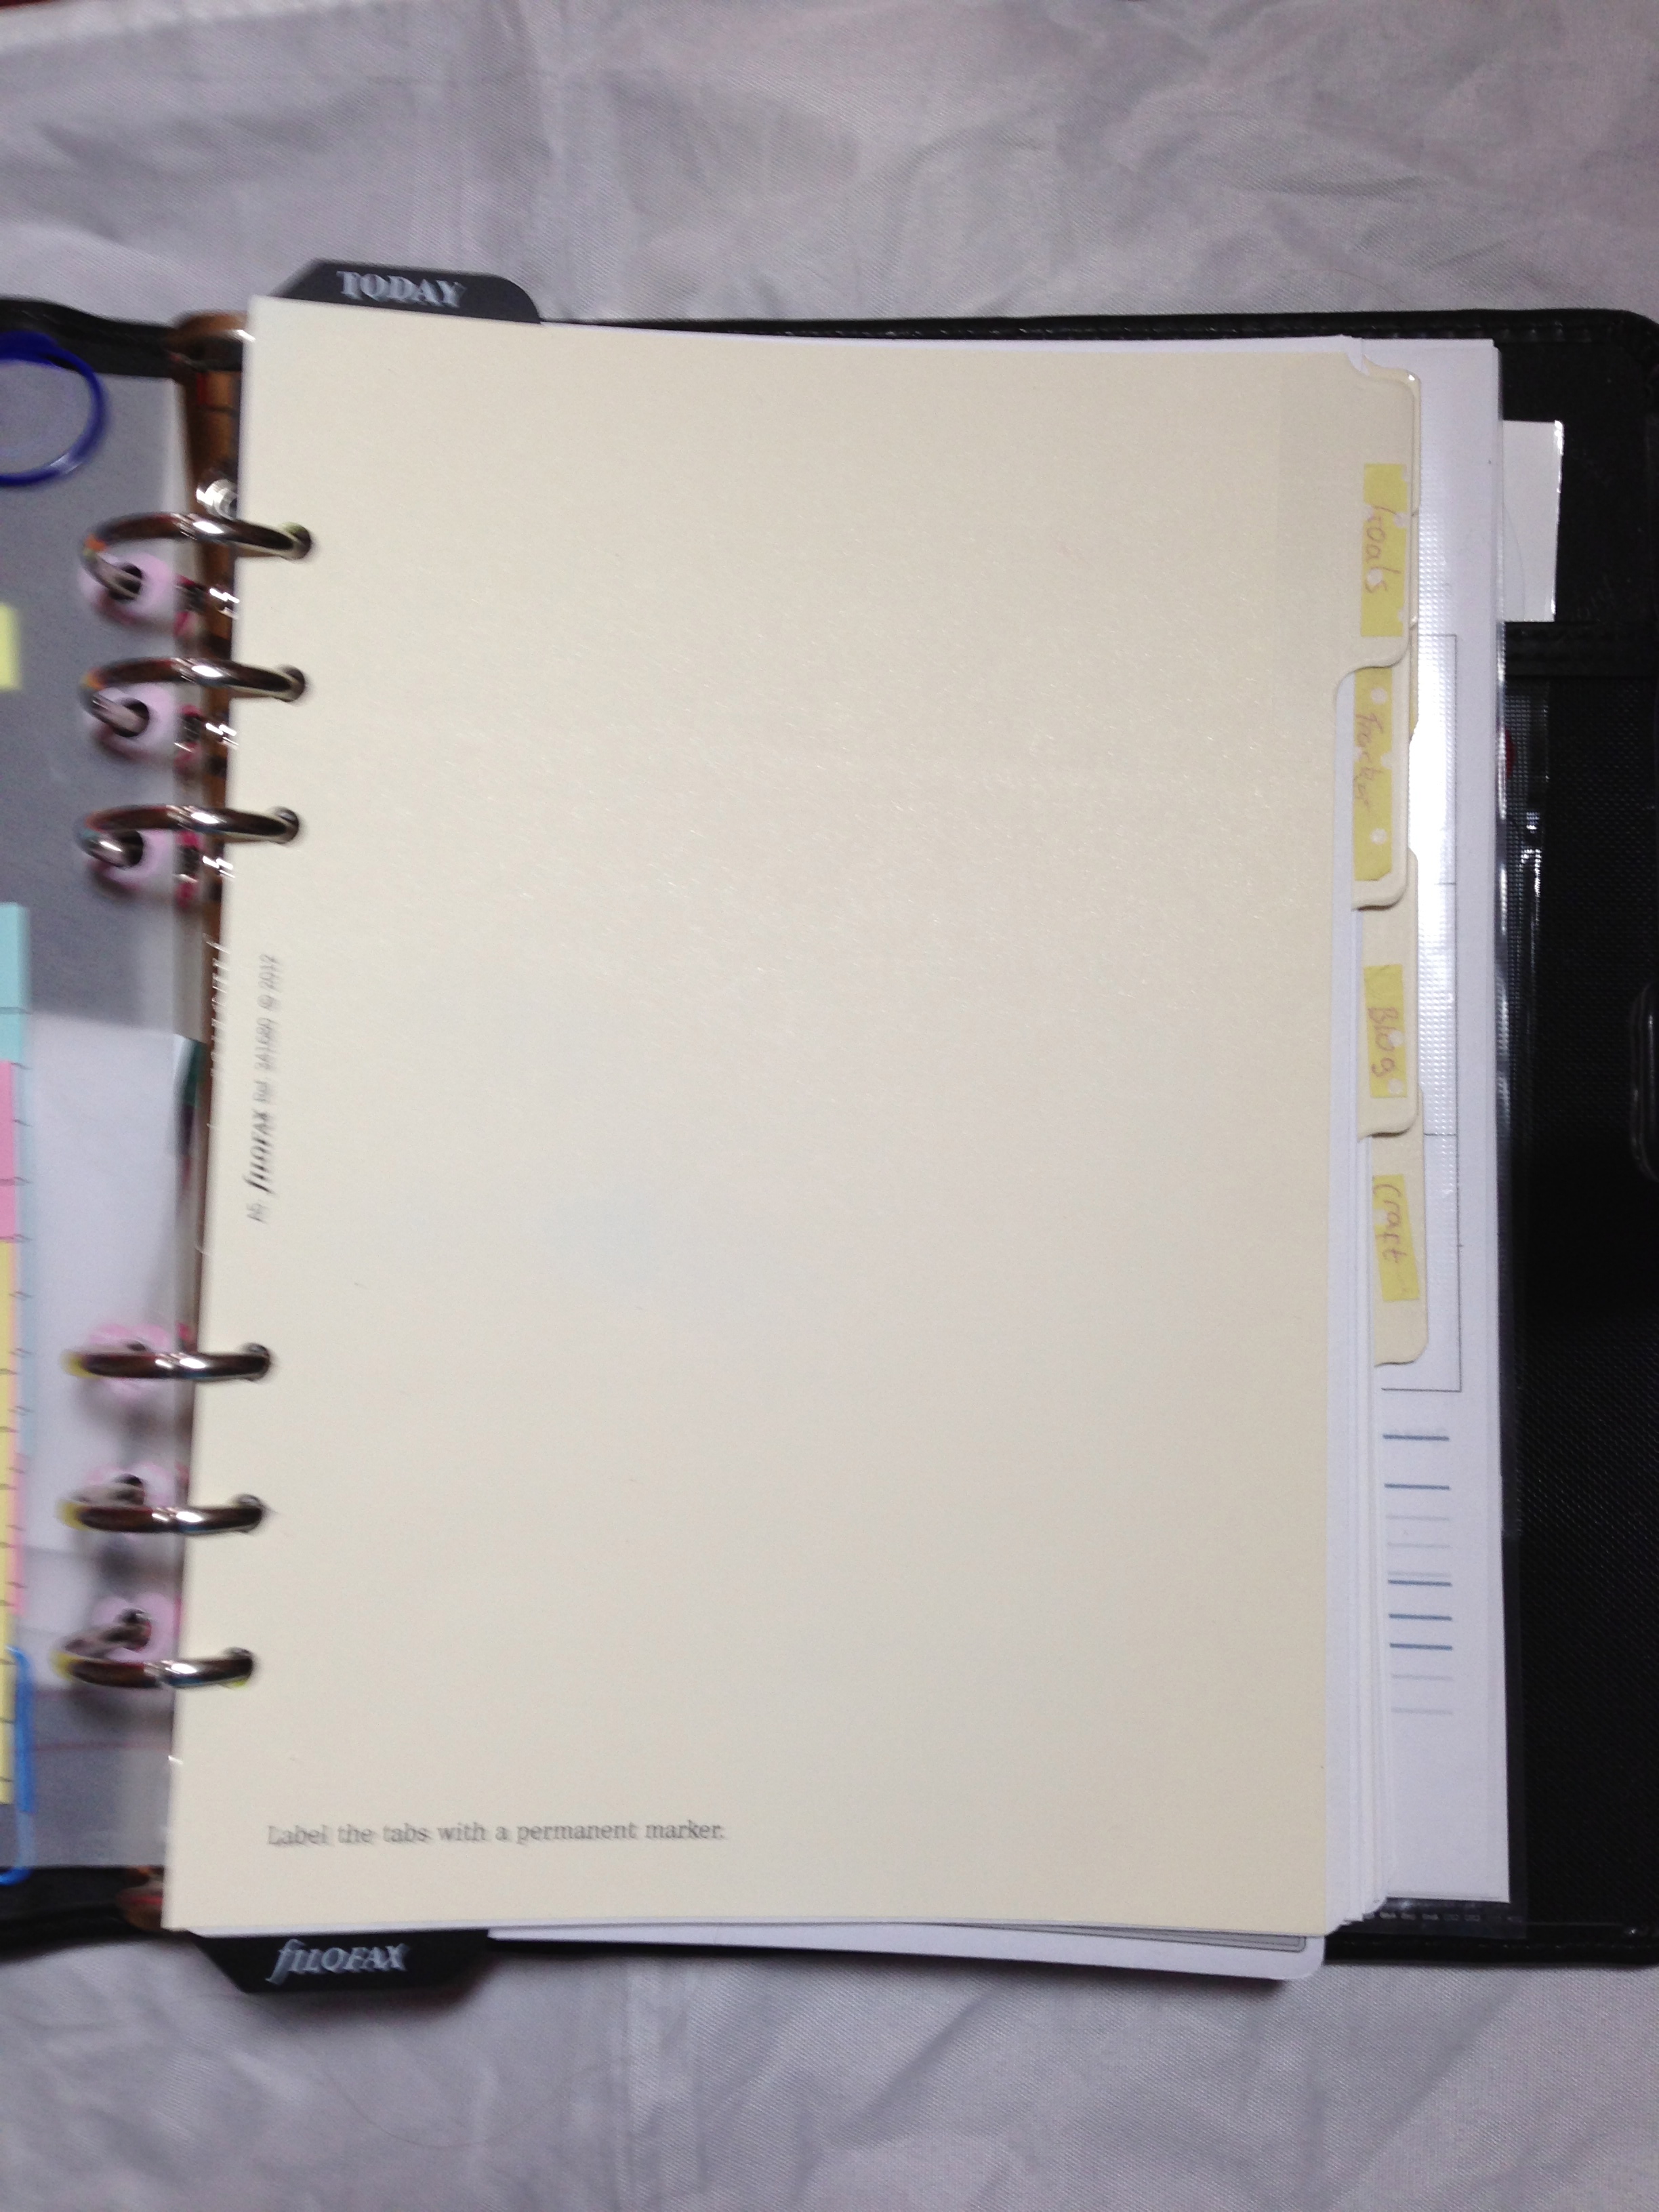
At present I am actually only temporarily labeling my tabs. As this is my first Filofax and previously I have just been doing lots of this type of thing in various notebooks and scrap bits of paper and envelopes, I am obviously not 100% certain what will work and won’t work for me. I did not want to permanetently label the tabs until I was confident with my setup. So out came the washi tape and a pen. I wanted to use a light colour washi tape so I could see my pen, apparently yellow is a bad choice. Lesson Learnt.

My main subject dividers are split into the following section:
Goals
Tracker
Blog
Craft
Etsy
An unlabeled one, which is for my newest top secret idea, as it is in such very early stages.
Some of these are stand alone, like Goals, others have sub sections which I have used the A-Z cream dividers for.
Goals
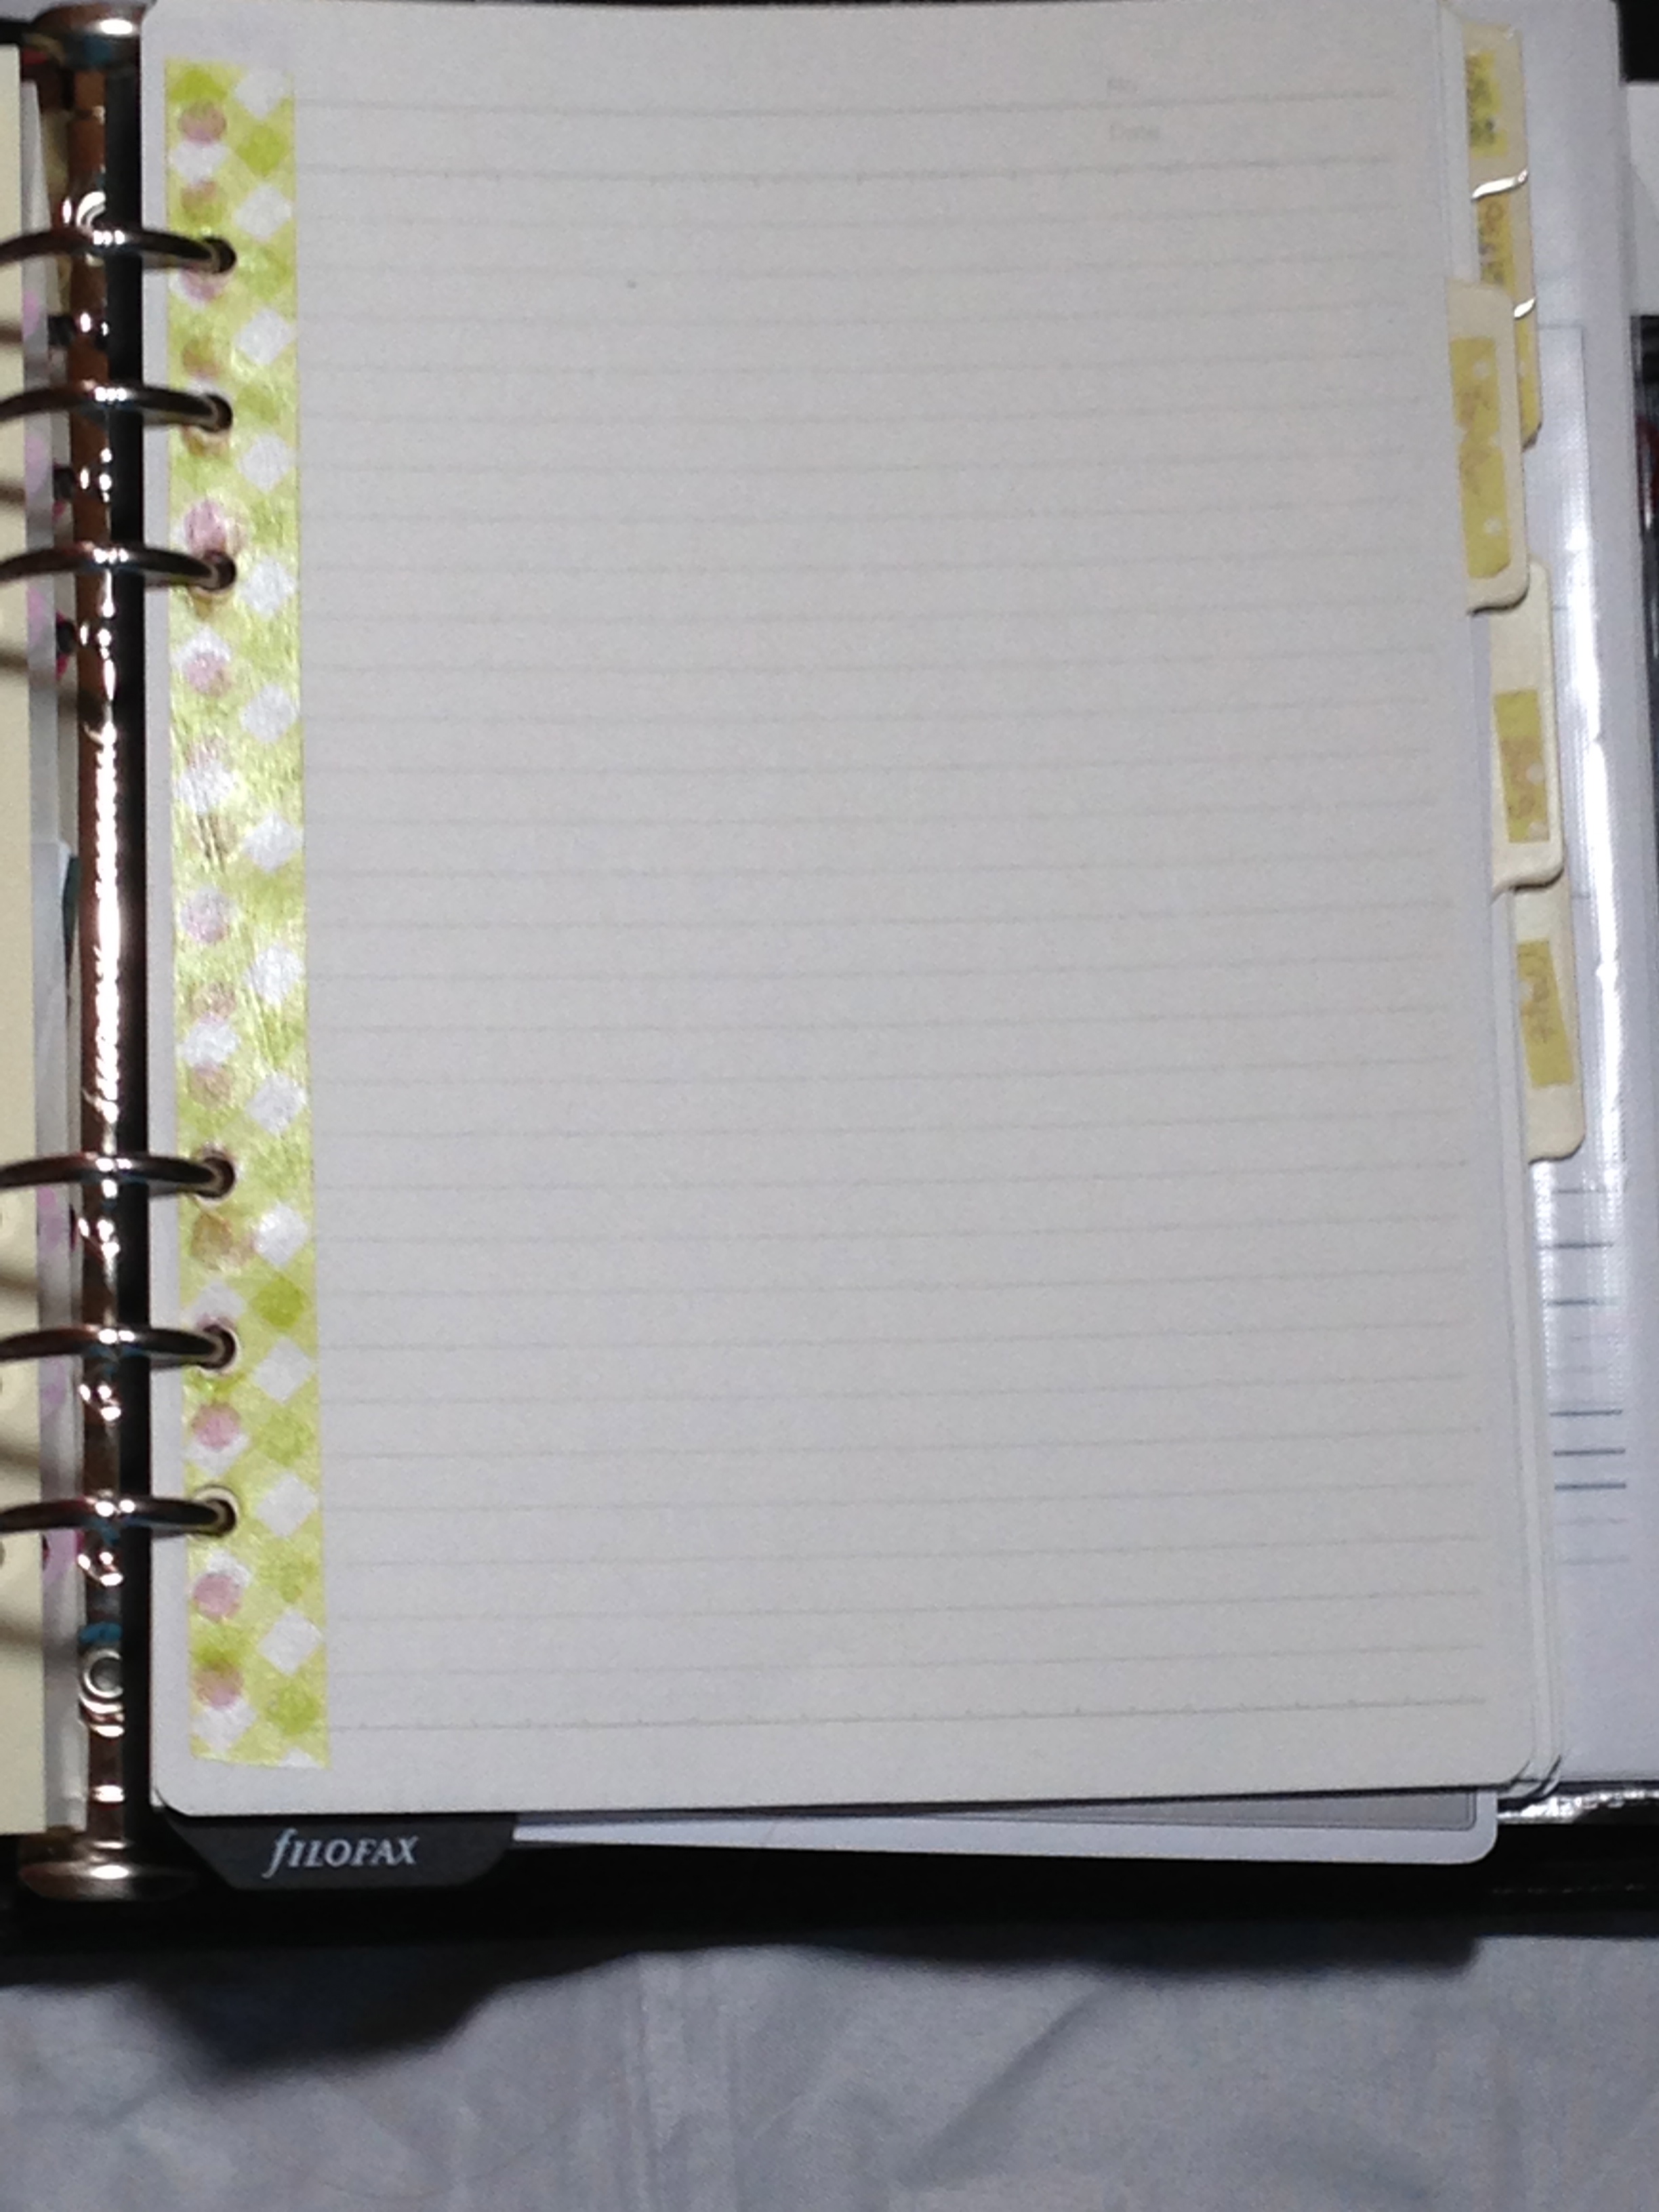
The goals section is really quite basic. My lined washi paper that I talked all about last week, so nothing much else to add about this one.
Tracker
At present, my tracker has two different pages in it, which has the potential to change. First up, is a Month on a Page Calendar, which I downloaded from Filofaxy, and just changed the fonts on.
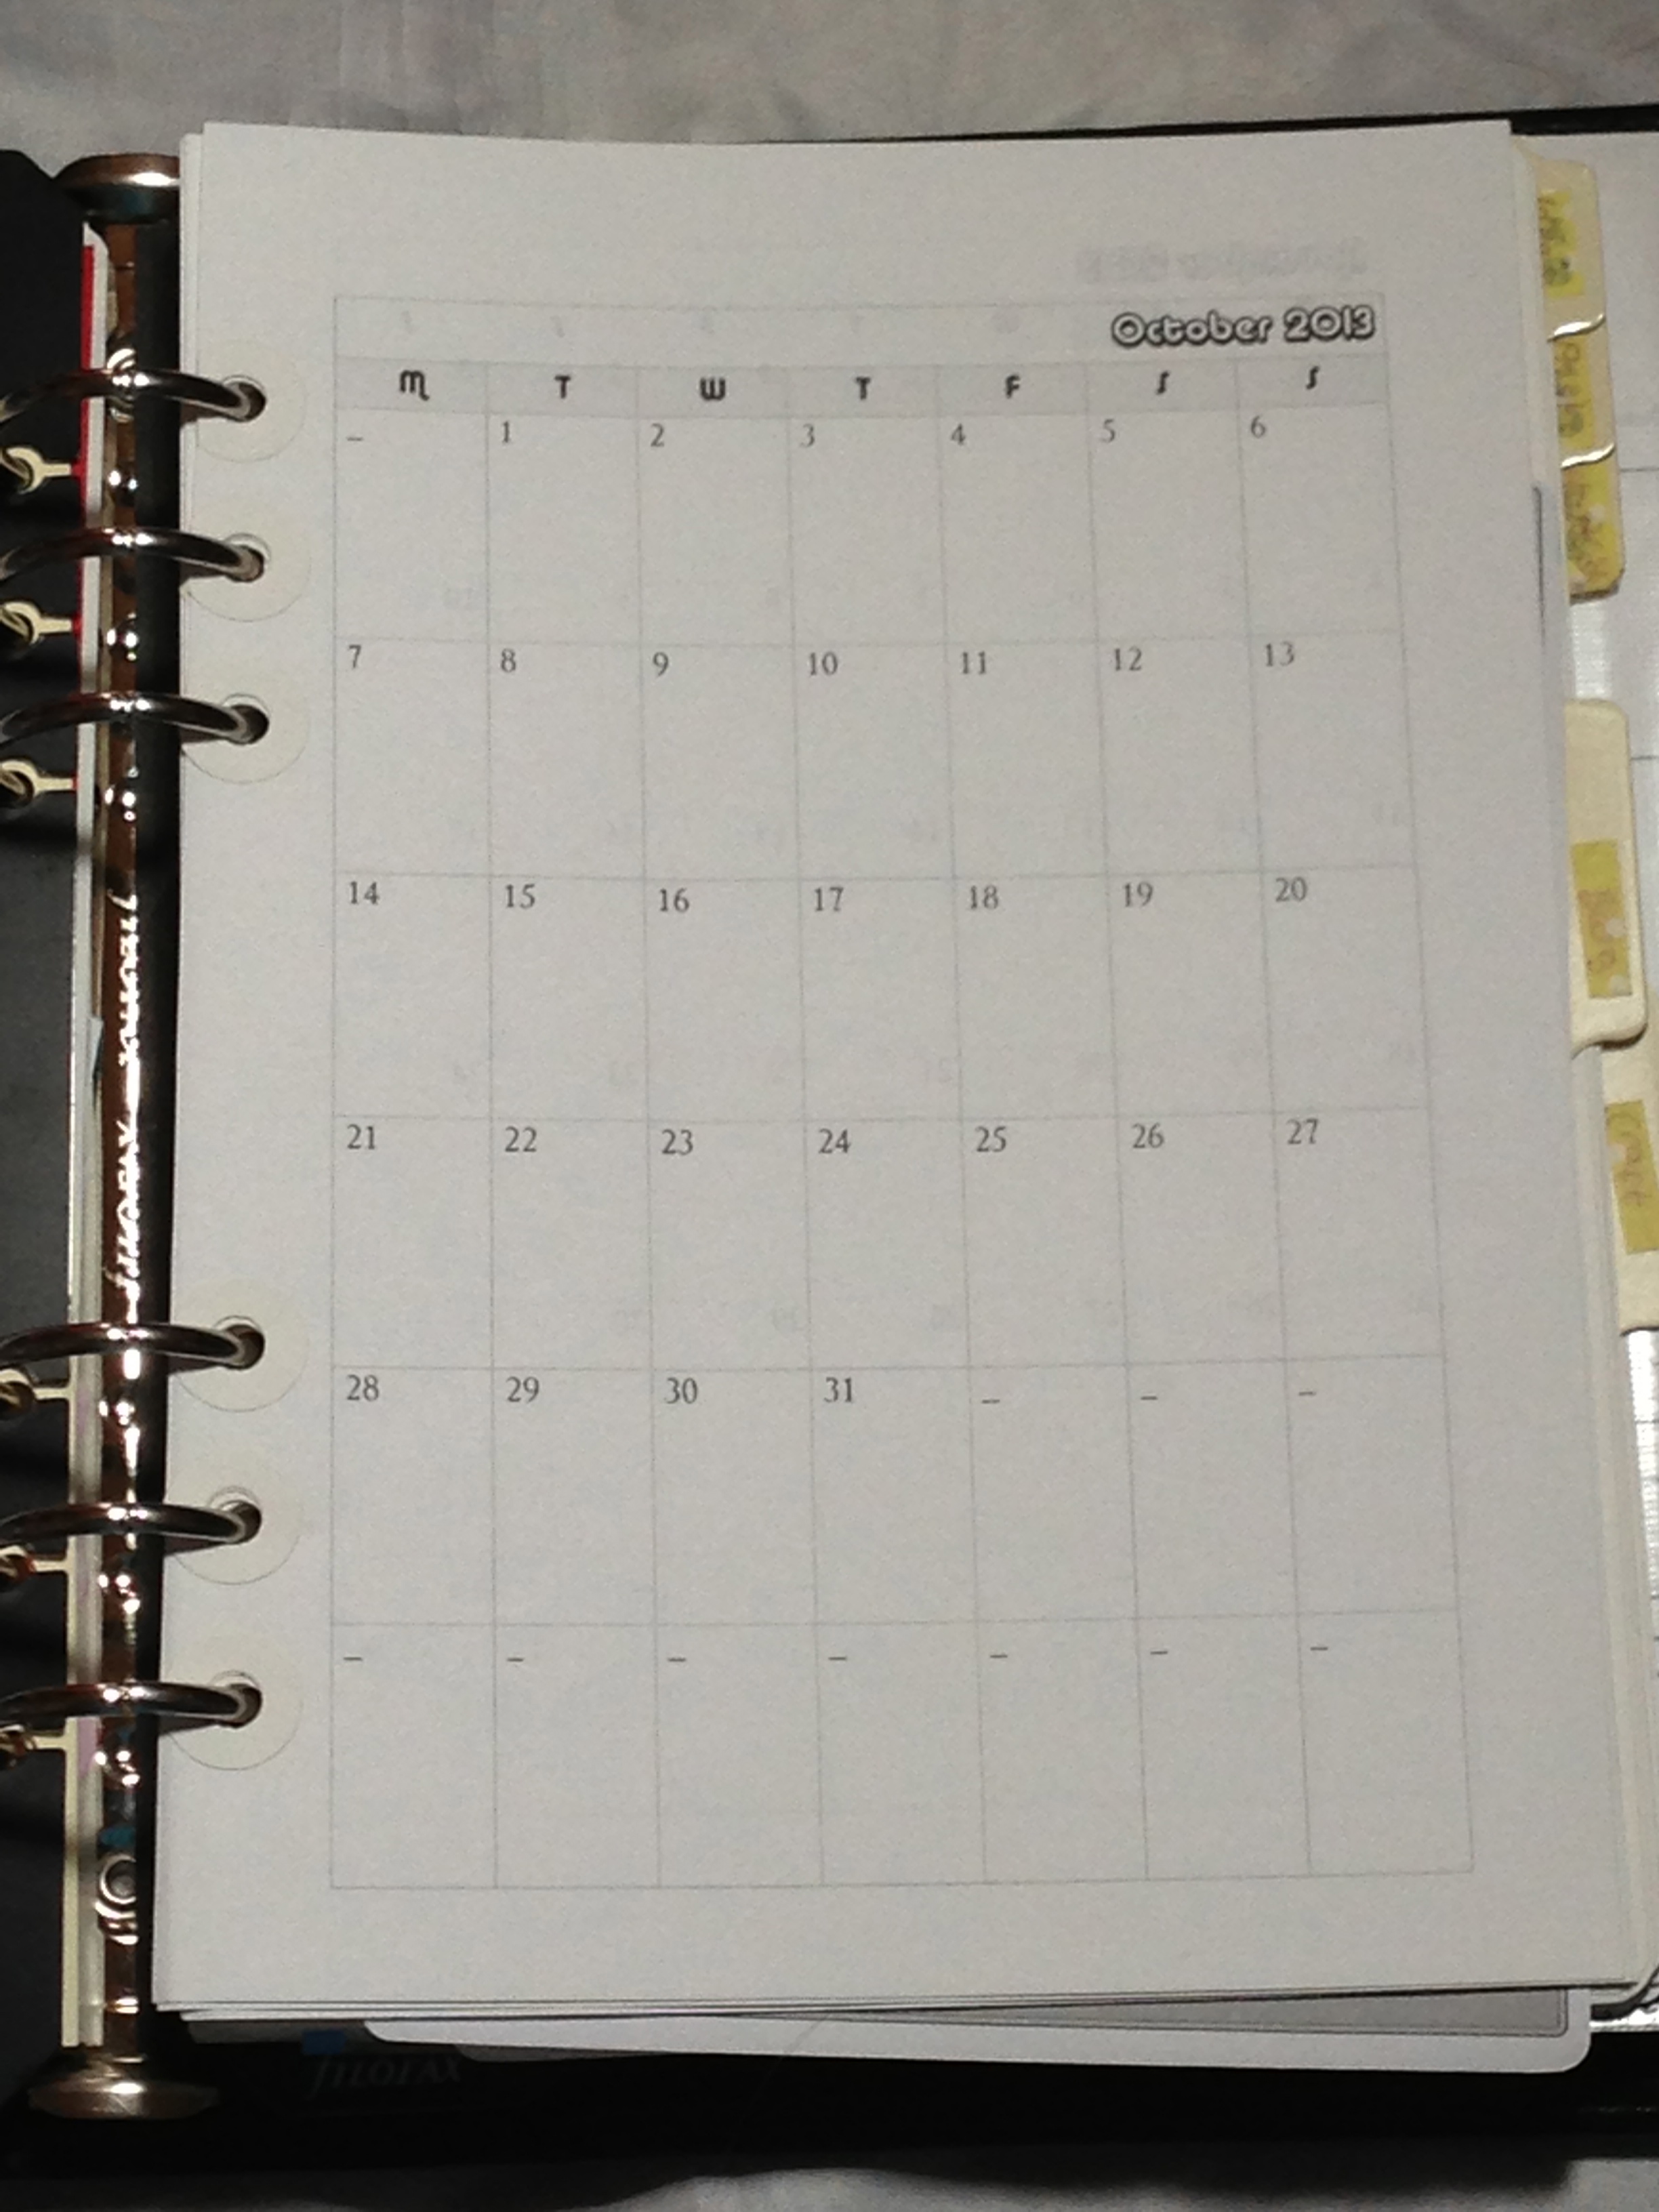
This is actually the only insert in my Filo, which I have not personally designed.
I will be colour coding this baby.
The other insert in this section is my Blog Post Tracker.
![]()
Knowing myself like I do, if I have to look at all my tick boxes when I quickly want to know what status something is, I will get annoyed. So once again, I will be colour coding for a quick status check.
Blog
The blog section is the first one that uses sub-dividers. I currently have three sub-sections in here: Ideas, Posts and Nail Polish.
Ideas just has plain paper for me to jot down any ideas I have for blog posts. The posts is actually empty, as what I initially planned for here I actually put into the tracker section. I like the idea of all my tracking information in the one section. However, if it all in the one section does not work for me, I will move the blog post tracker back here. I created custom inserts for my nail polish section and I will say, this is going to be a little test for a bigger and better idea I have had since getting involved in this project.

Craft
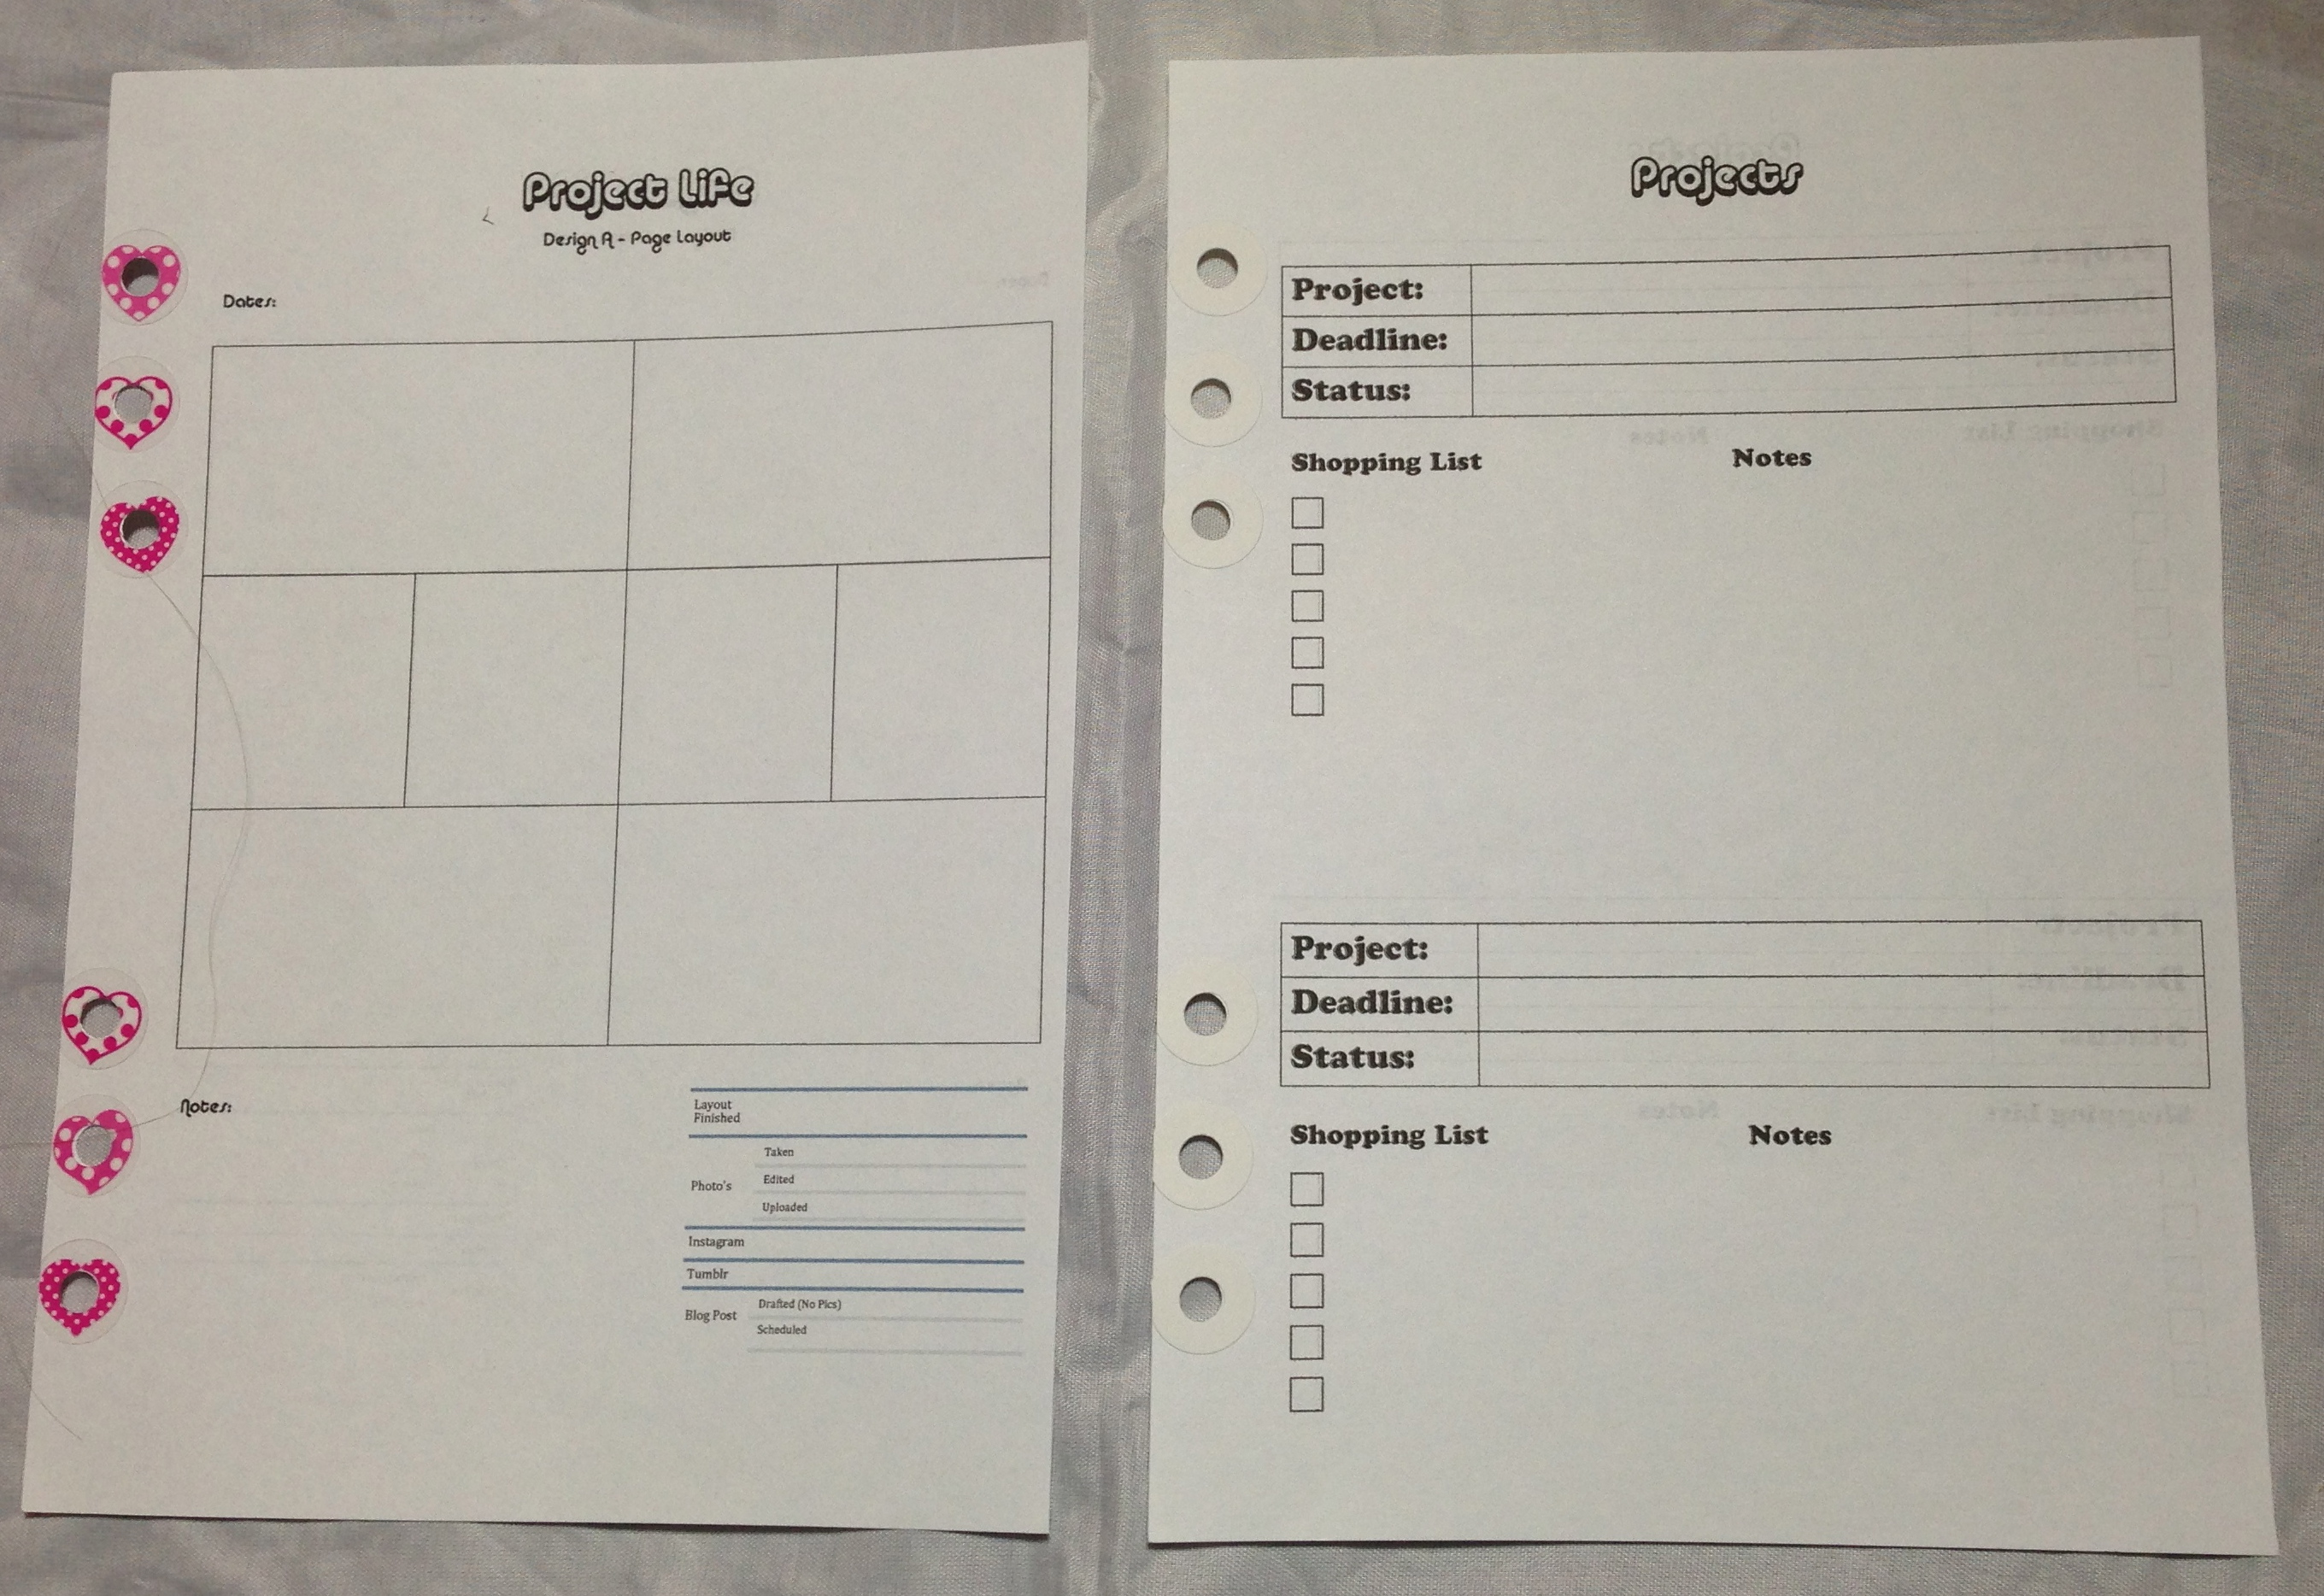
The craft section is another one utilizing the sub-dividers. First up, is a section for Ideas. This section, actually has 3 different inserts. Firstly we have some lined paper. Then two lots of custom inserts I created. Rather than put the pages in my binder already, which means I would be opening and closing and moving papers all the time, depending on what insert I want to use, I have elected to store the two inserts I created into a little plastic pocket folder.

The two inserts I have created are a Project Life – Design A page layout insert and a Projects insert. Once again I will be colour coding the Projects, for a quick glance status update.
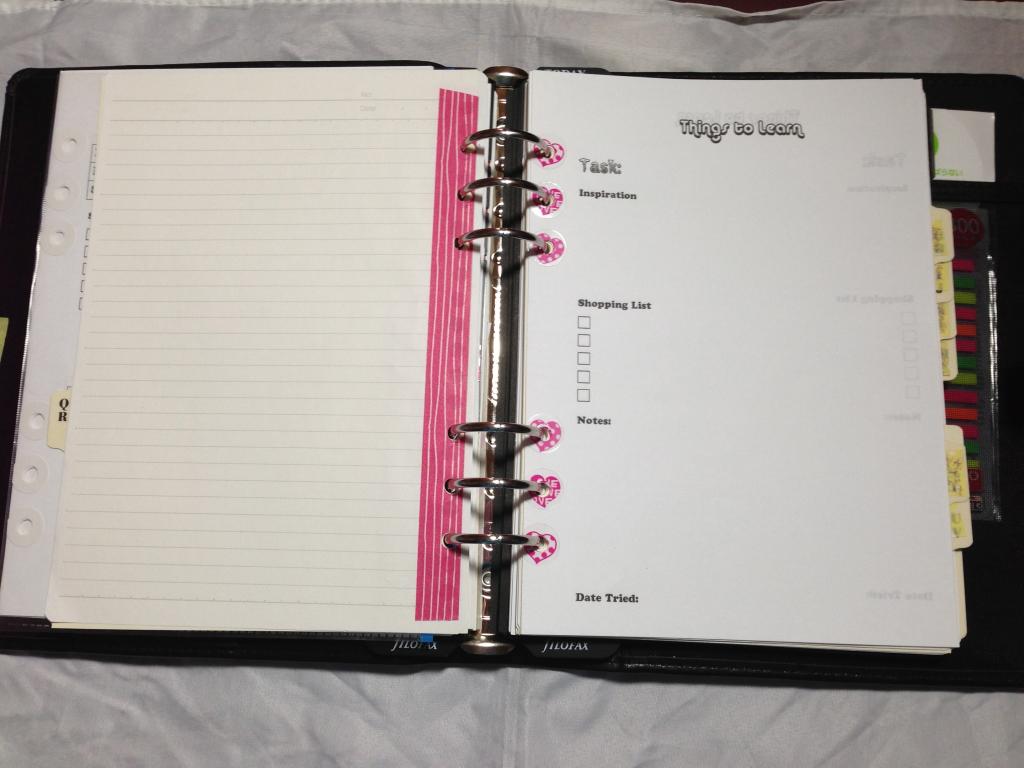
After ideas I have a Learn section that will be filled with my never ending list of things I want to learn. I have two lots of inserts in this section. Firstly, is just lined paper for my random things like Knitting. The other insert, is yet again, something I custom made and I must say, it might just be my favourite one.
Next up is a tips and tricks section, just with lined paper. There is also a blank sub divider here, and in all honesty, I have no idea if what I wrote on the washi rubbed off or if I mis-calculated or what, but I have no idea what this section was for. I will keep it there for a while to see if I remember though.
Etsy
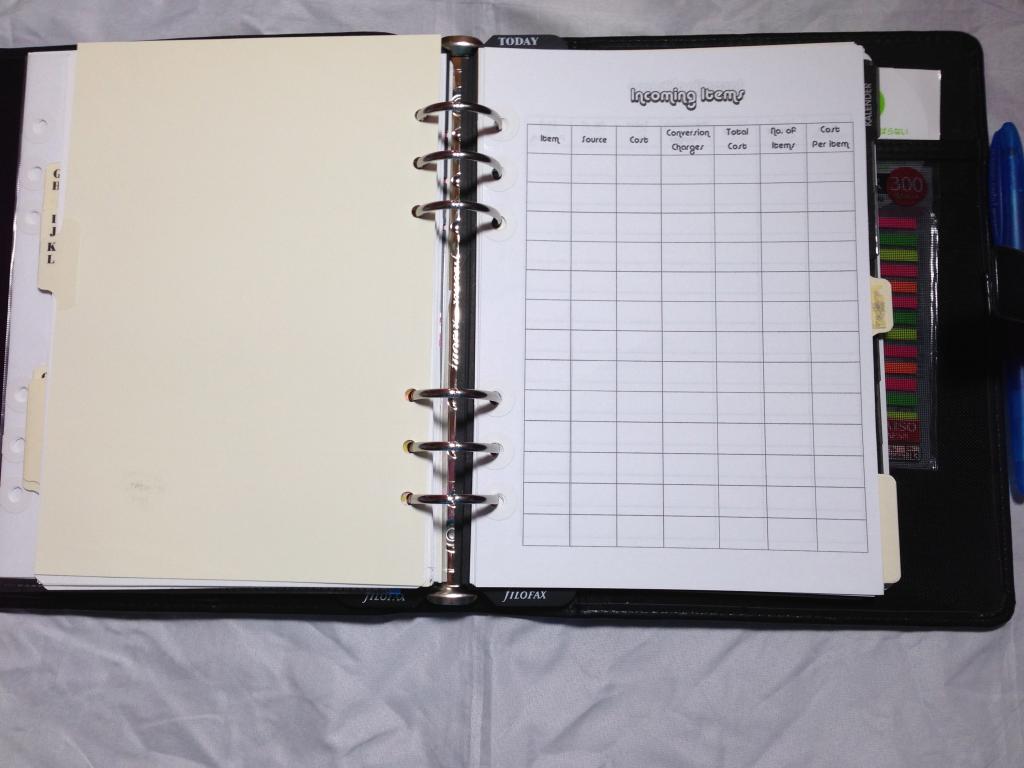
My etsy section once again uses sub-sections. The first two sub-sections are Ideas and Plans, both of which, just have lined paper in them. Next up, is an Incoming section. I will say this now, I’m not sure what I was thinking when I created this insert, but I suspect this will change.
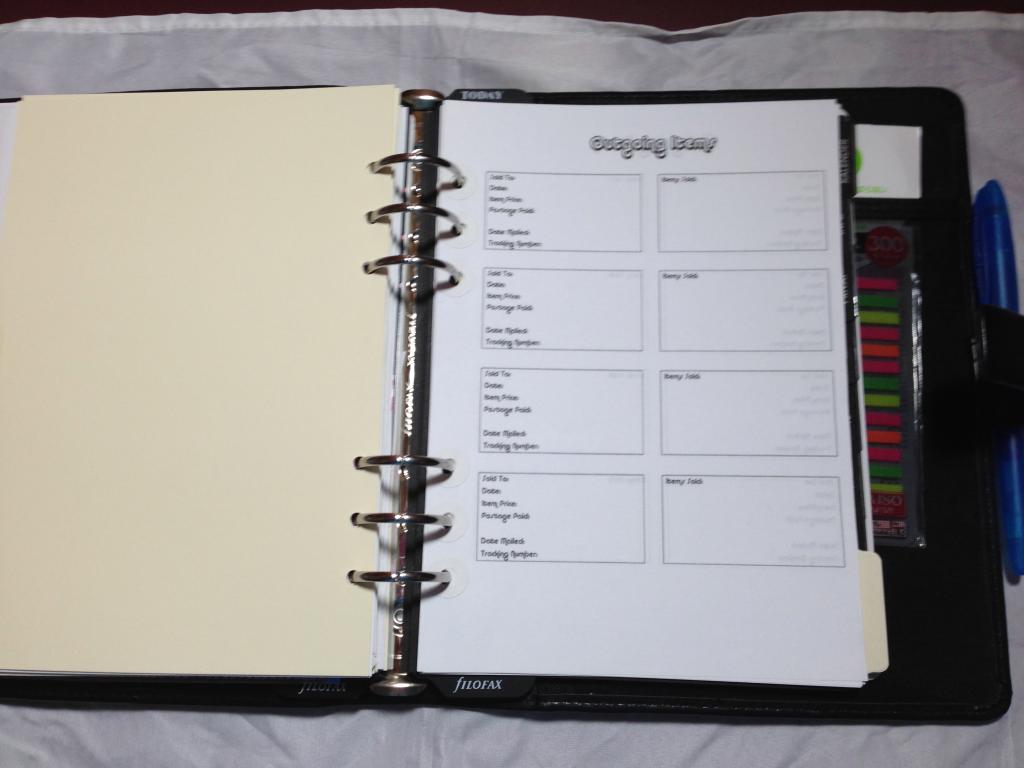
Unlike my incoming inserts, my outgoing inserts, I love the look of, and I cannot wait to try them out.
Finally, we have my top secret section, which I made custom inserts for. I actually really like the look of these and I think they will work perfectly for what I want to do with this section. Dilemma, if I show the inserts in all their glory the secret won’t be anymore, but I think the layout of these might be useable for lots of things so might inspire someone else. So, I am showing but 99% of the text on the page is covered over.

In short this section has a combination of tables and free text fields. Some free text fields are simply just one line, others are like a little box. Two boxes next to each other apparently makes me happy.
Well, that is my craft section done and dusted. Onto next week now. 😀
Love having a Research insert! I always look up interesting tid bits on line and in magazines when I am preparing for a project. Having the information and references in one place….brilliant.