Hi All! Here’s the first post for a very exciting project – Sherry is using an A5 binder for The Gardening Project. Let’s meet Sherry!
Hello, one and all! “Welcome to my garden” as I share my efforts in reclaiming my neglected and overgrown flower beds and setting up and using a binder for organising this project. The Filofax project and the beautiful purple Ordning och Reda A5 binder (thank you, again, Janet) have been a huge inspiration in moving me forward in this garden redo!
I received the binder last week, and I have been busy trying to get it set up since then. It came stuffed with lined and blank paper trimmed and hole punched to size. I needed to make dividers, and come up with some kind of a calendar that I could use.
The first set of dividers I made were very nice, but too thick and heavy, and when I put them into the binder, there was almost no room for the paper between them to actually write on! Back to the drawing board: more cutting, more tape, and more holes punched until I finally had something I liked and could use.
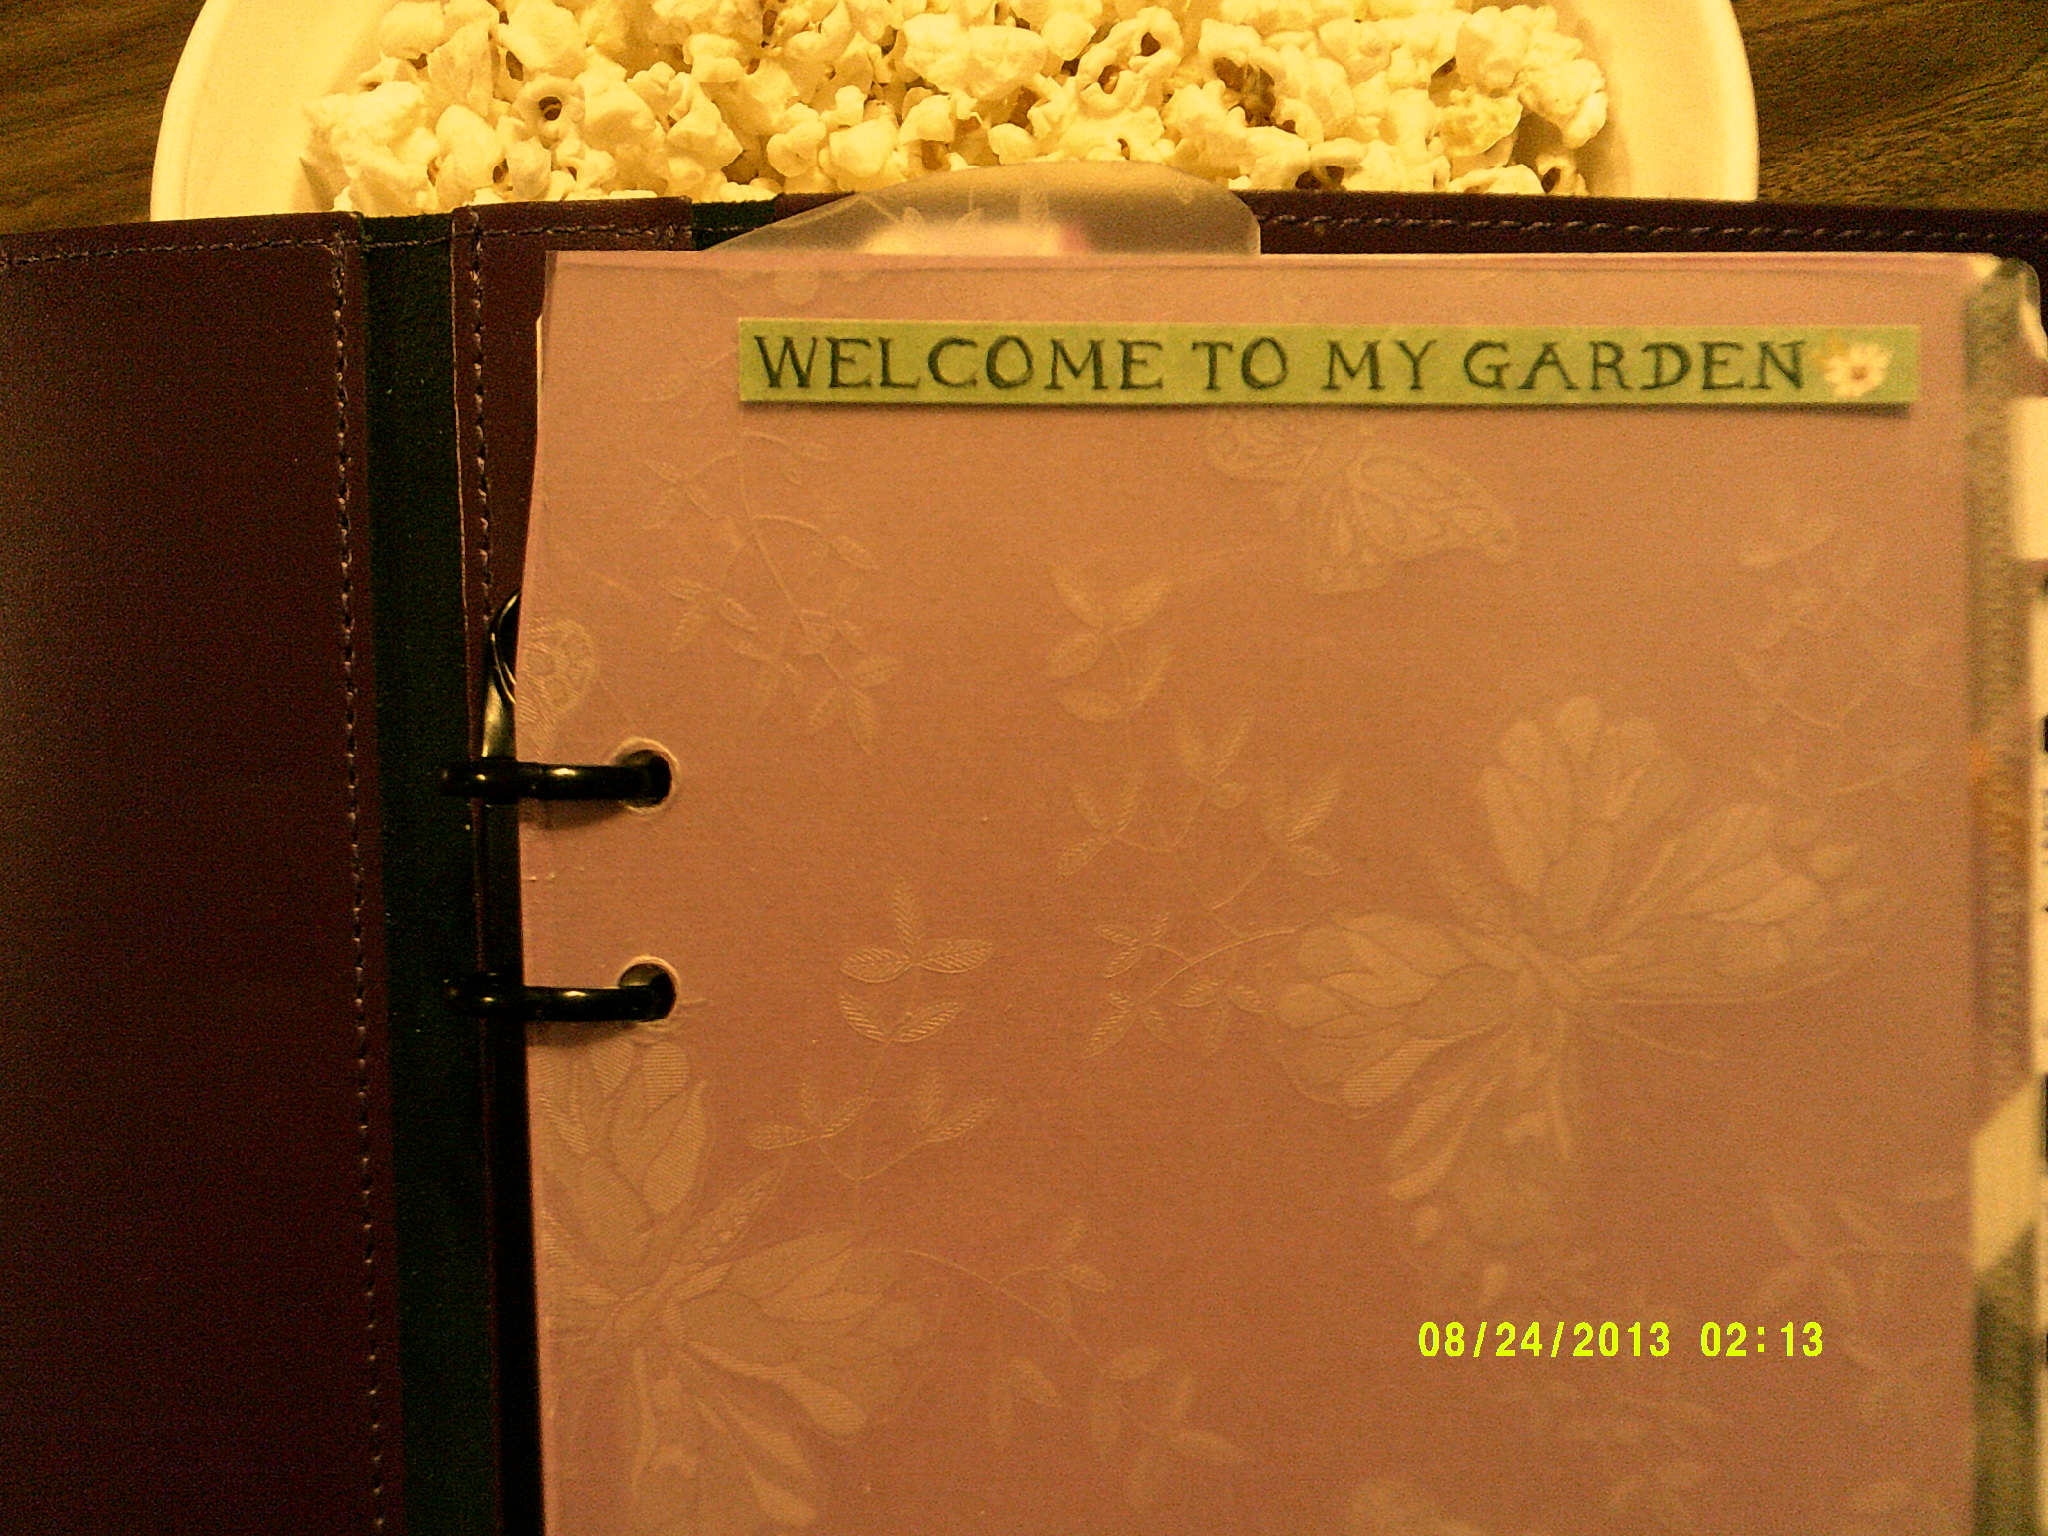
A clear fly leaf with a “Welcome to My Garden” sticker at the top and “Bloom where you are planted” at the bottom is my first divider, then a plastic pocket I cut down from a folder and hole punched, and two ruler style dividers to use to flip to sections- the one in notes is a top tab, the other one has a bottom tab and is inserted at the first bed section I’m working in. There is a black plastic page lifter at the back.
The tabbed dividers are:
Notes – I’ve already done some pricing of bags of top soil and compost, bricks, and notes of a couple of things I would like do in the garden. I used a fun plaid pocket folder to cut this out of, and left the pocket on the back.
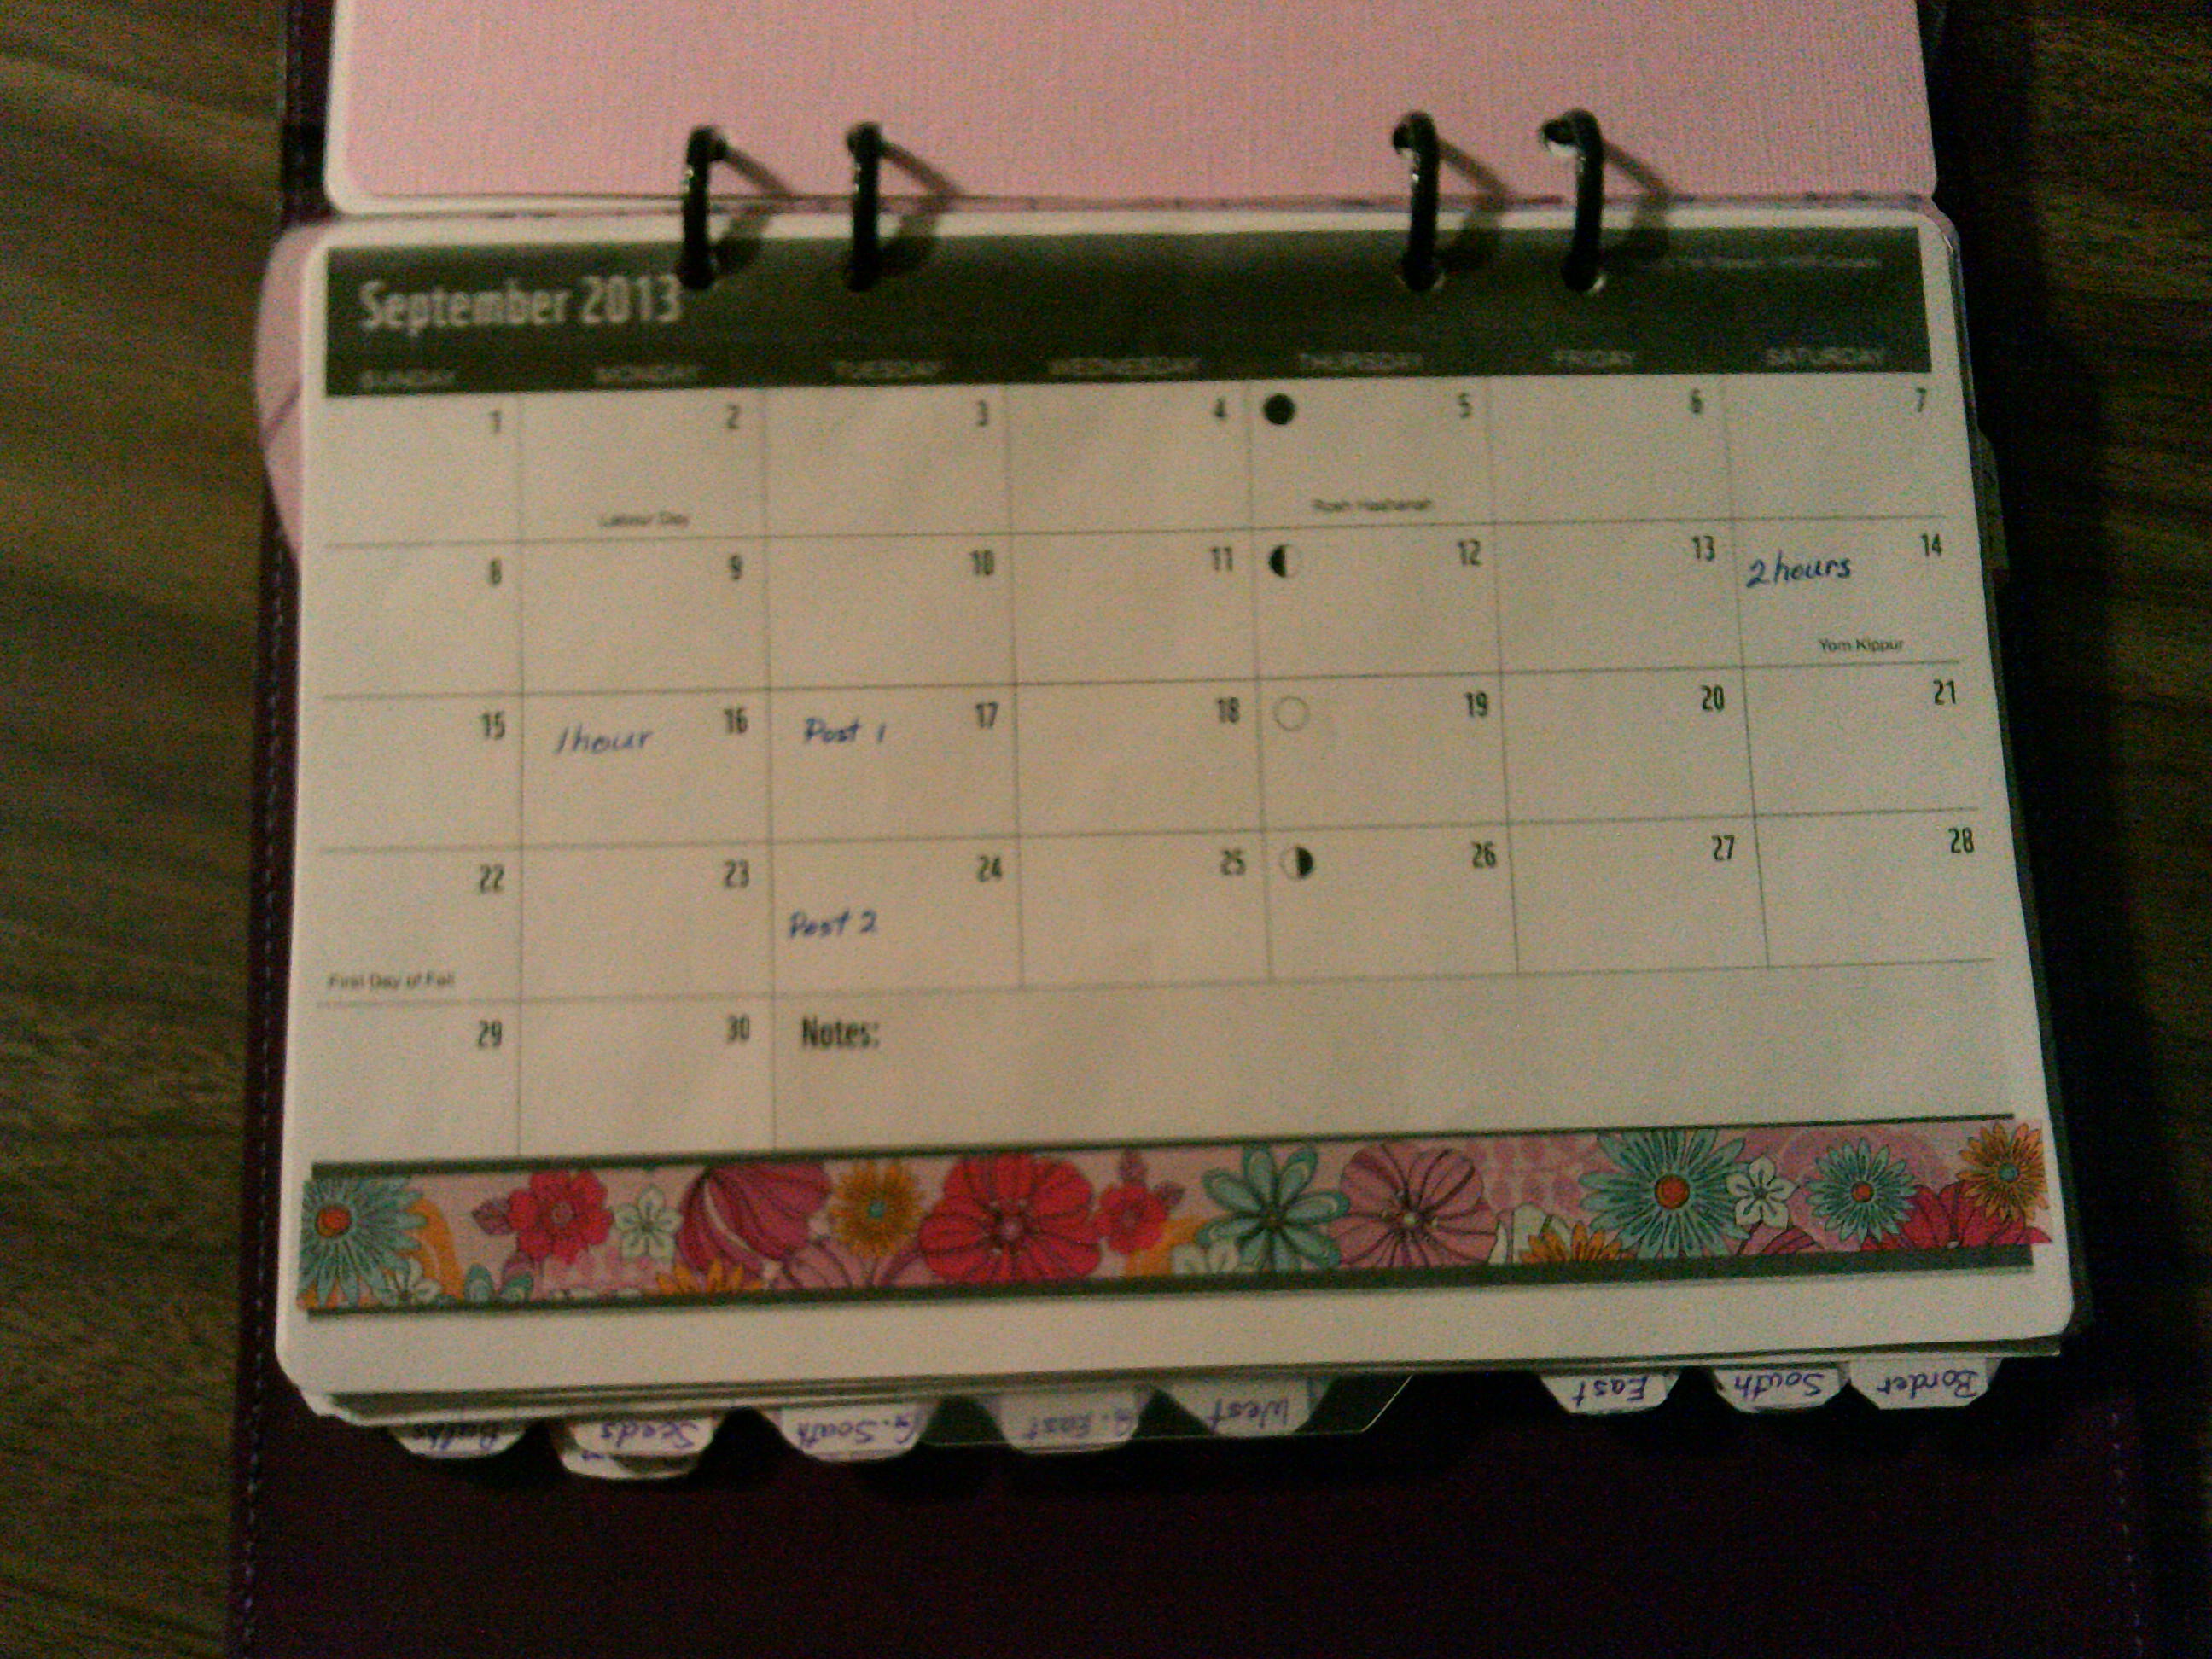
Diary- I found a calendar that was almost the right size, photocopied it, then trimmed it and turned it sideways to fit the planner. This is where I’ll keep track of hours worked in the garden and when posts are due. Next year I hope to also keep track in this section of when plants in my garden bloom as well. There are only the September to December this year in this section now; the hunt is on for 2014, although I may already have something that will work.
Border- this is the first bit of garden I’m working on. Included behind this divider and the next five I have added graph paper. This is where I will draw each flower bed (not exactly to scale) with approximate dimensions, and begin planning what will be planted where, size of plants, colour placement, etc. My past experience in what will do well in my location helps here as I will (try to) choose plants that will be easy care, thrive and aim for bloom throughout the season. I have another clear fly leaf to place behind the graph paper so ink won’t bleed through to the next page.
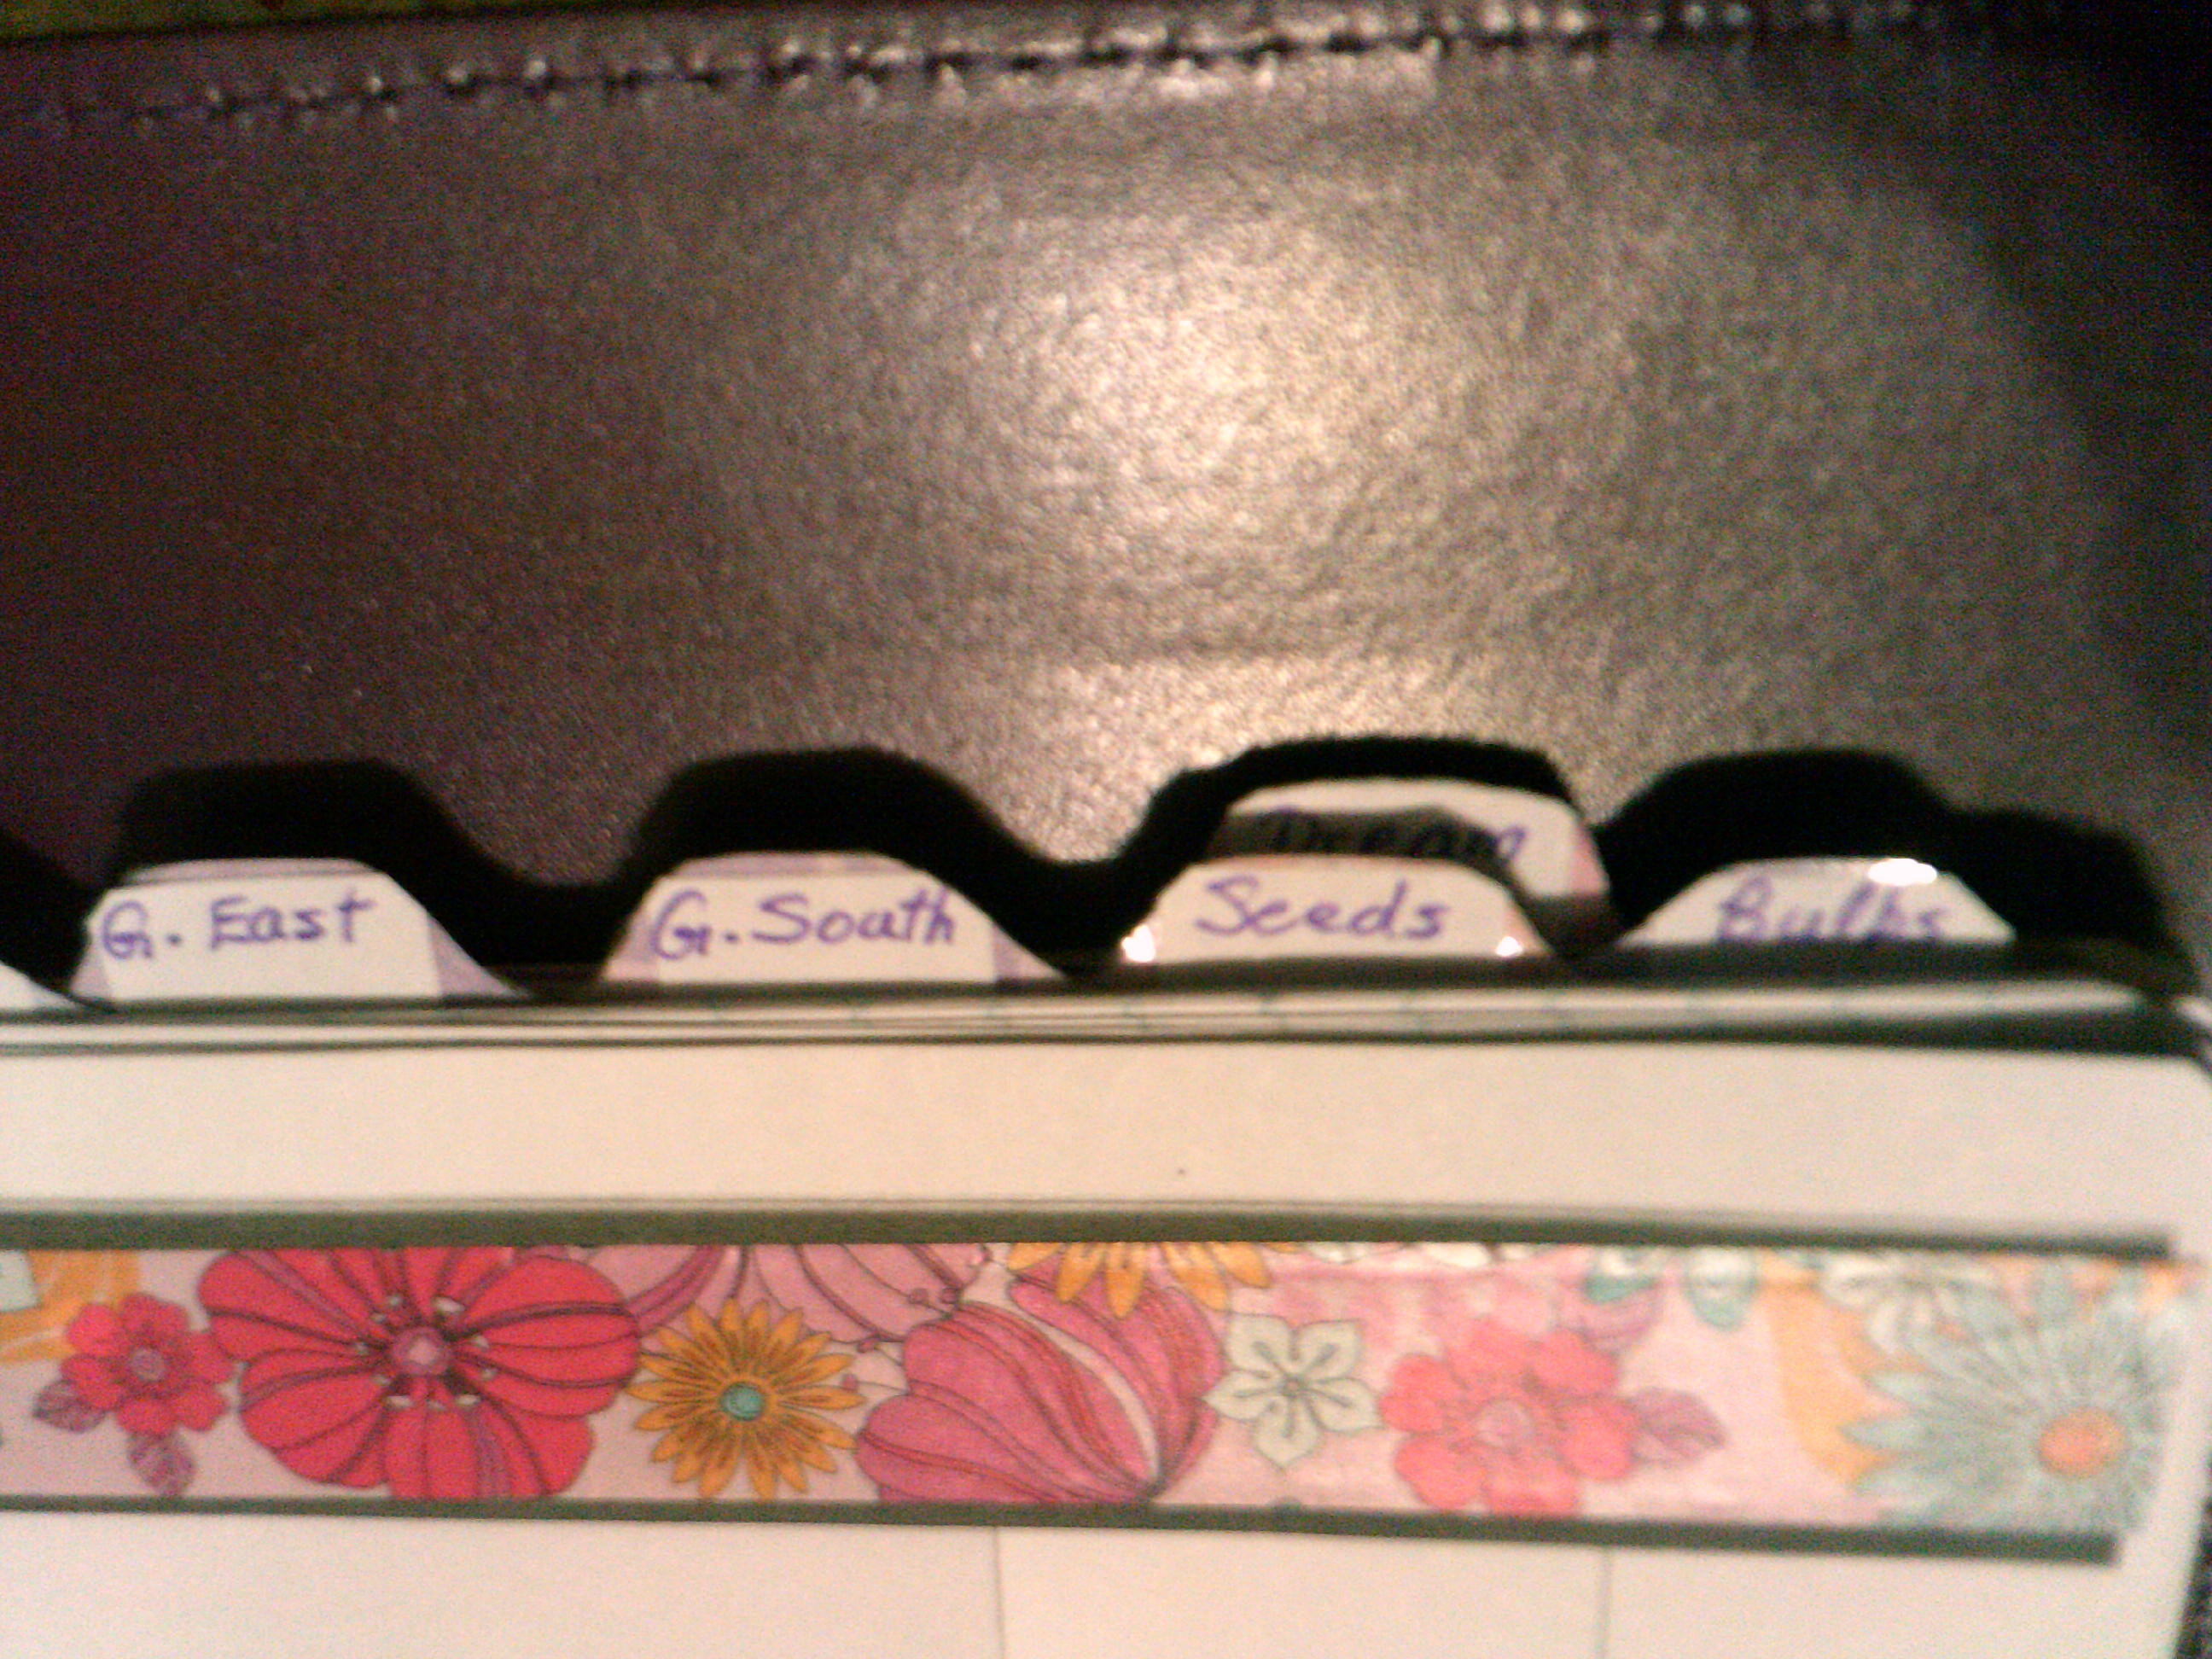
The next five tabs are for the other flower beds, named for their location- South, East, West (these are all against the house foundation), G. East and G. South (garage east/garage south). This is one continuous bed.
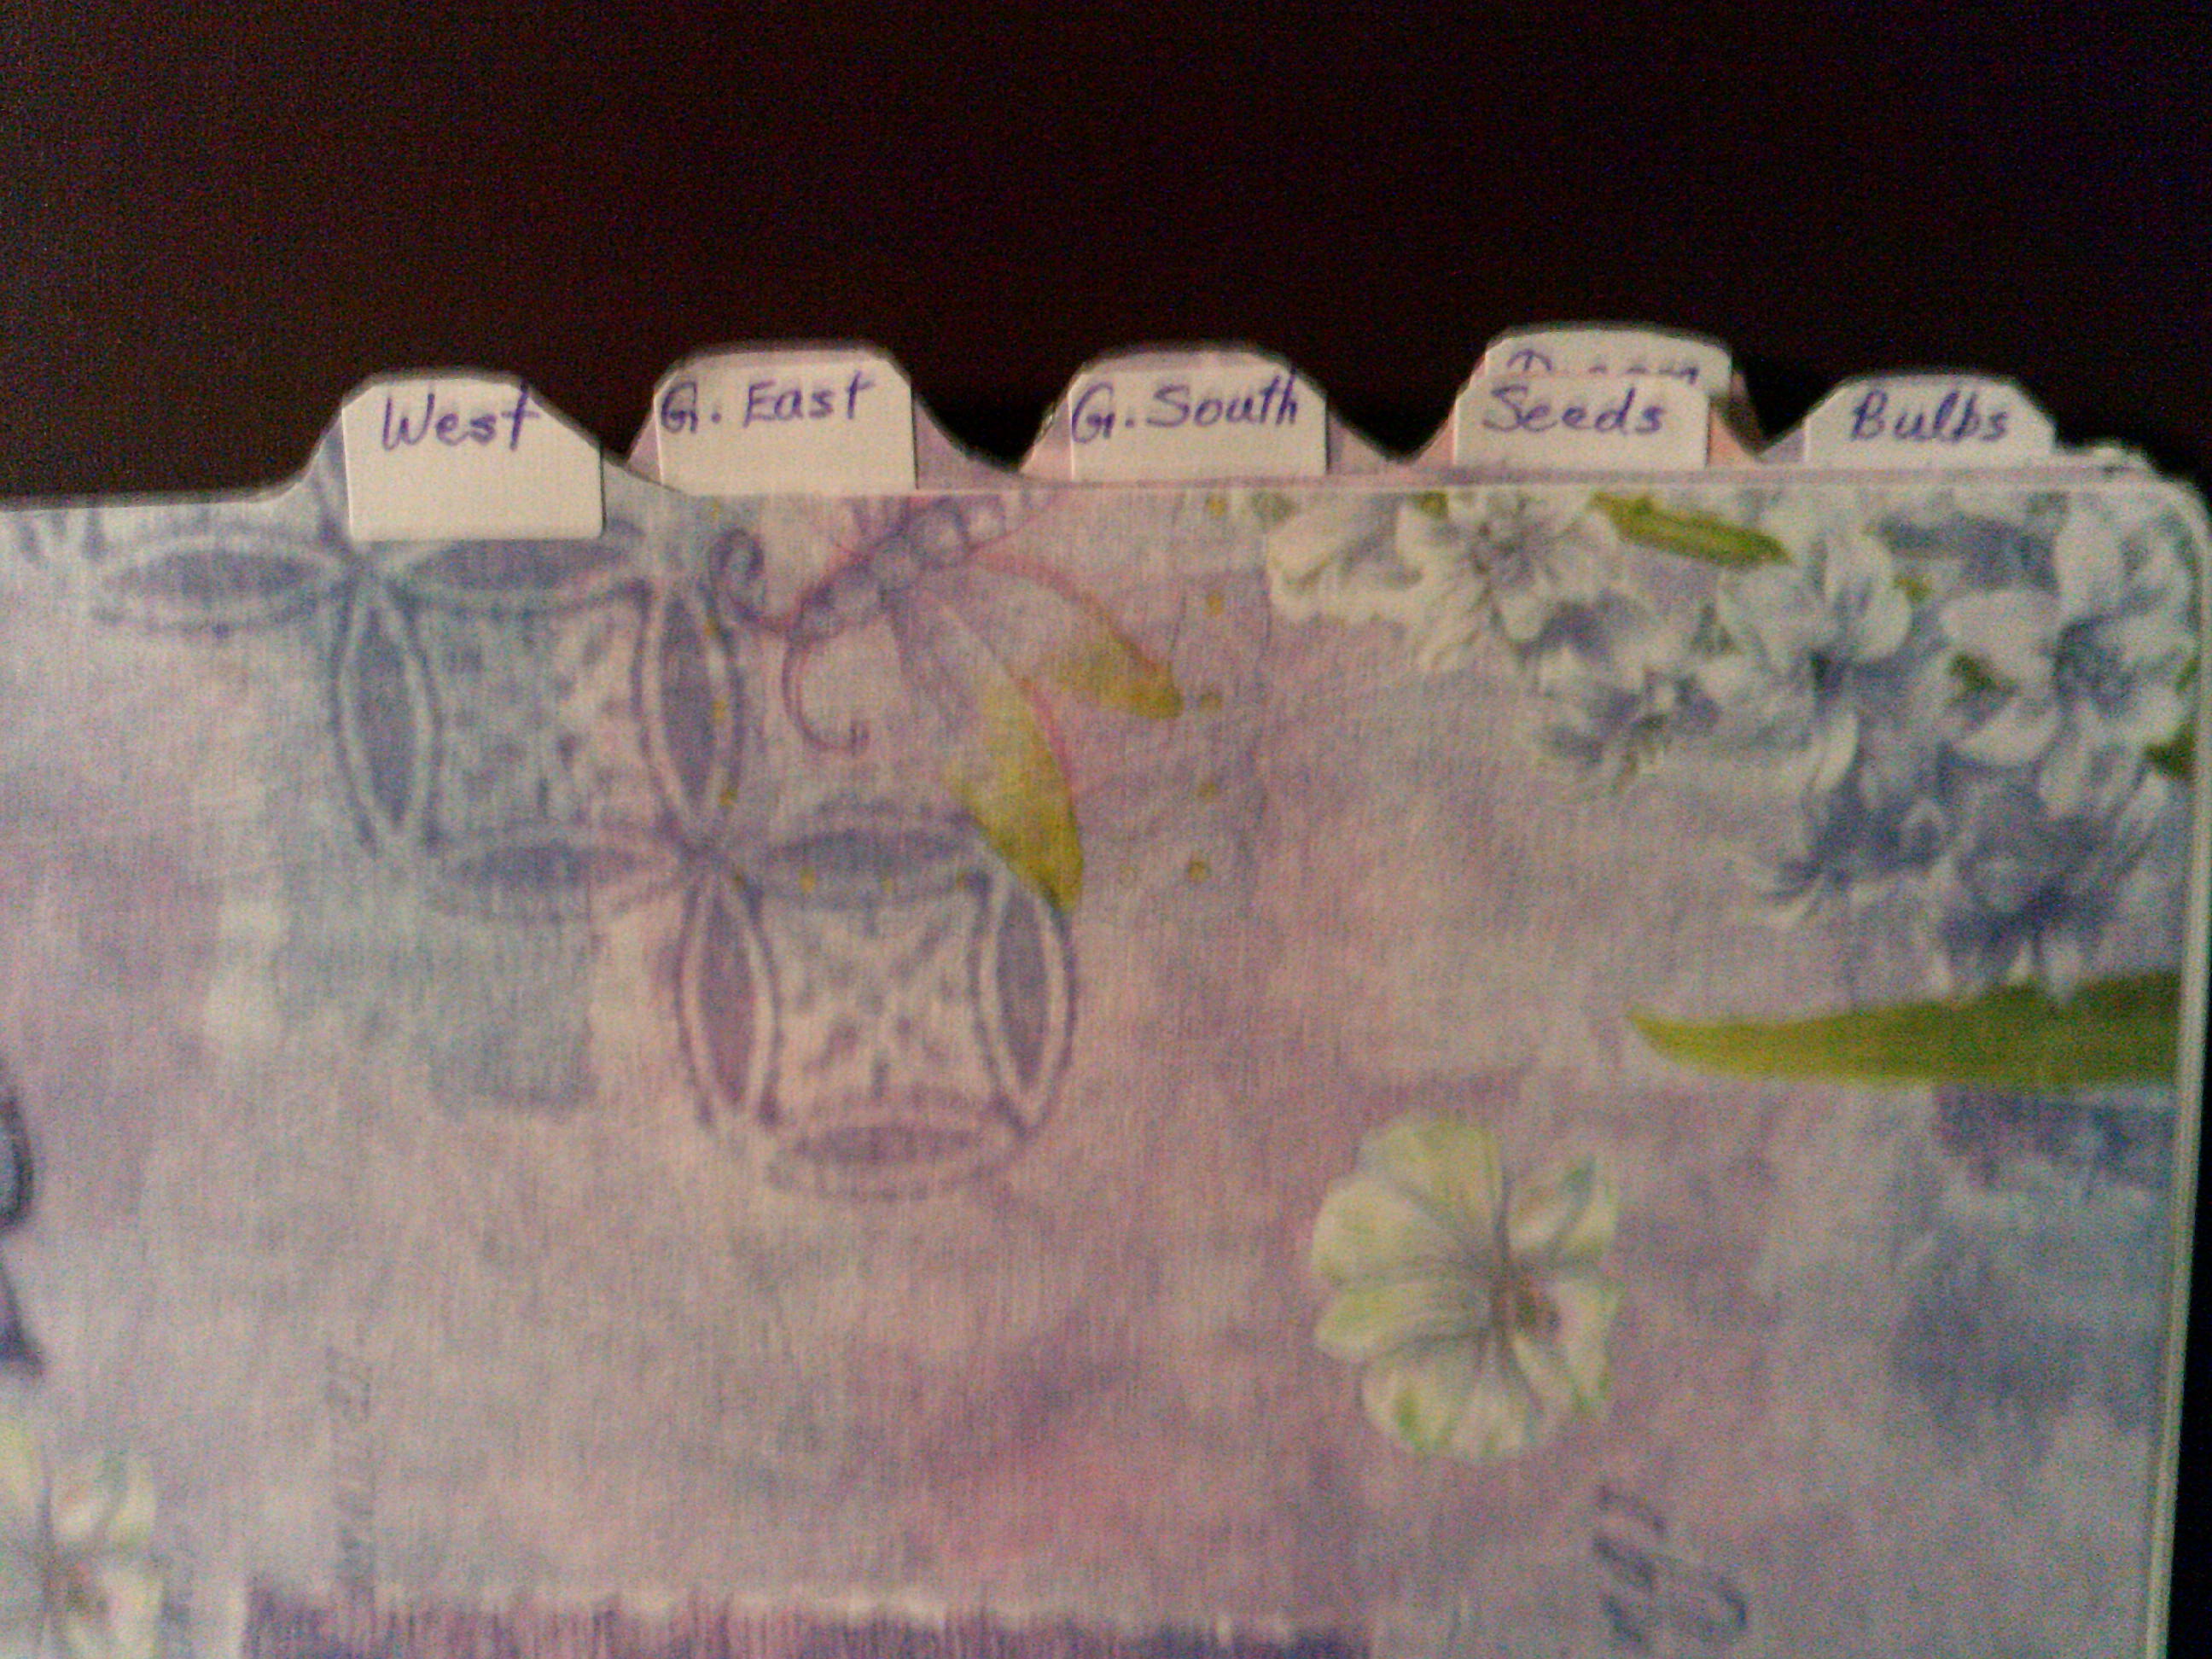
Then tabs for Seeds, and Bulbs, where I will track types of seed and bulbs I beg or buy.
Perennials tab is next, with a page for Sun and Shade plants.

Purchased- here I will keep track of everything I buy and the cost.
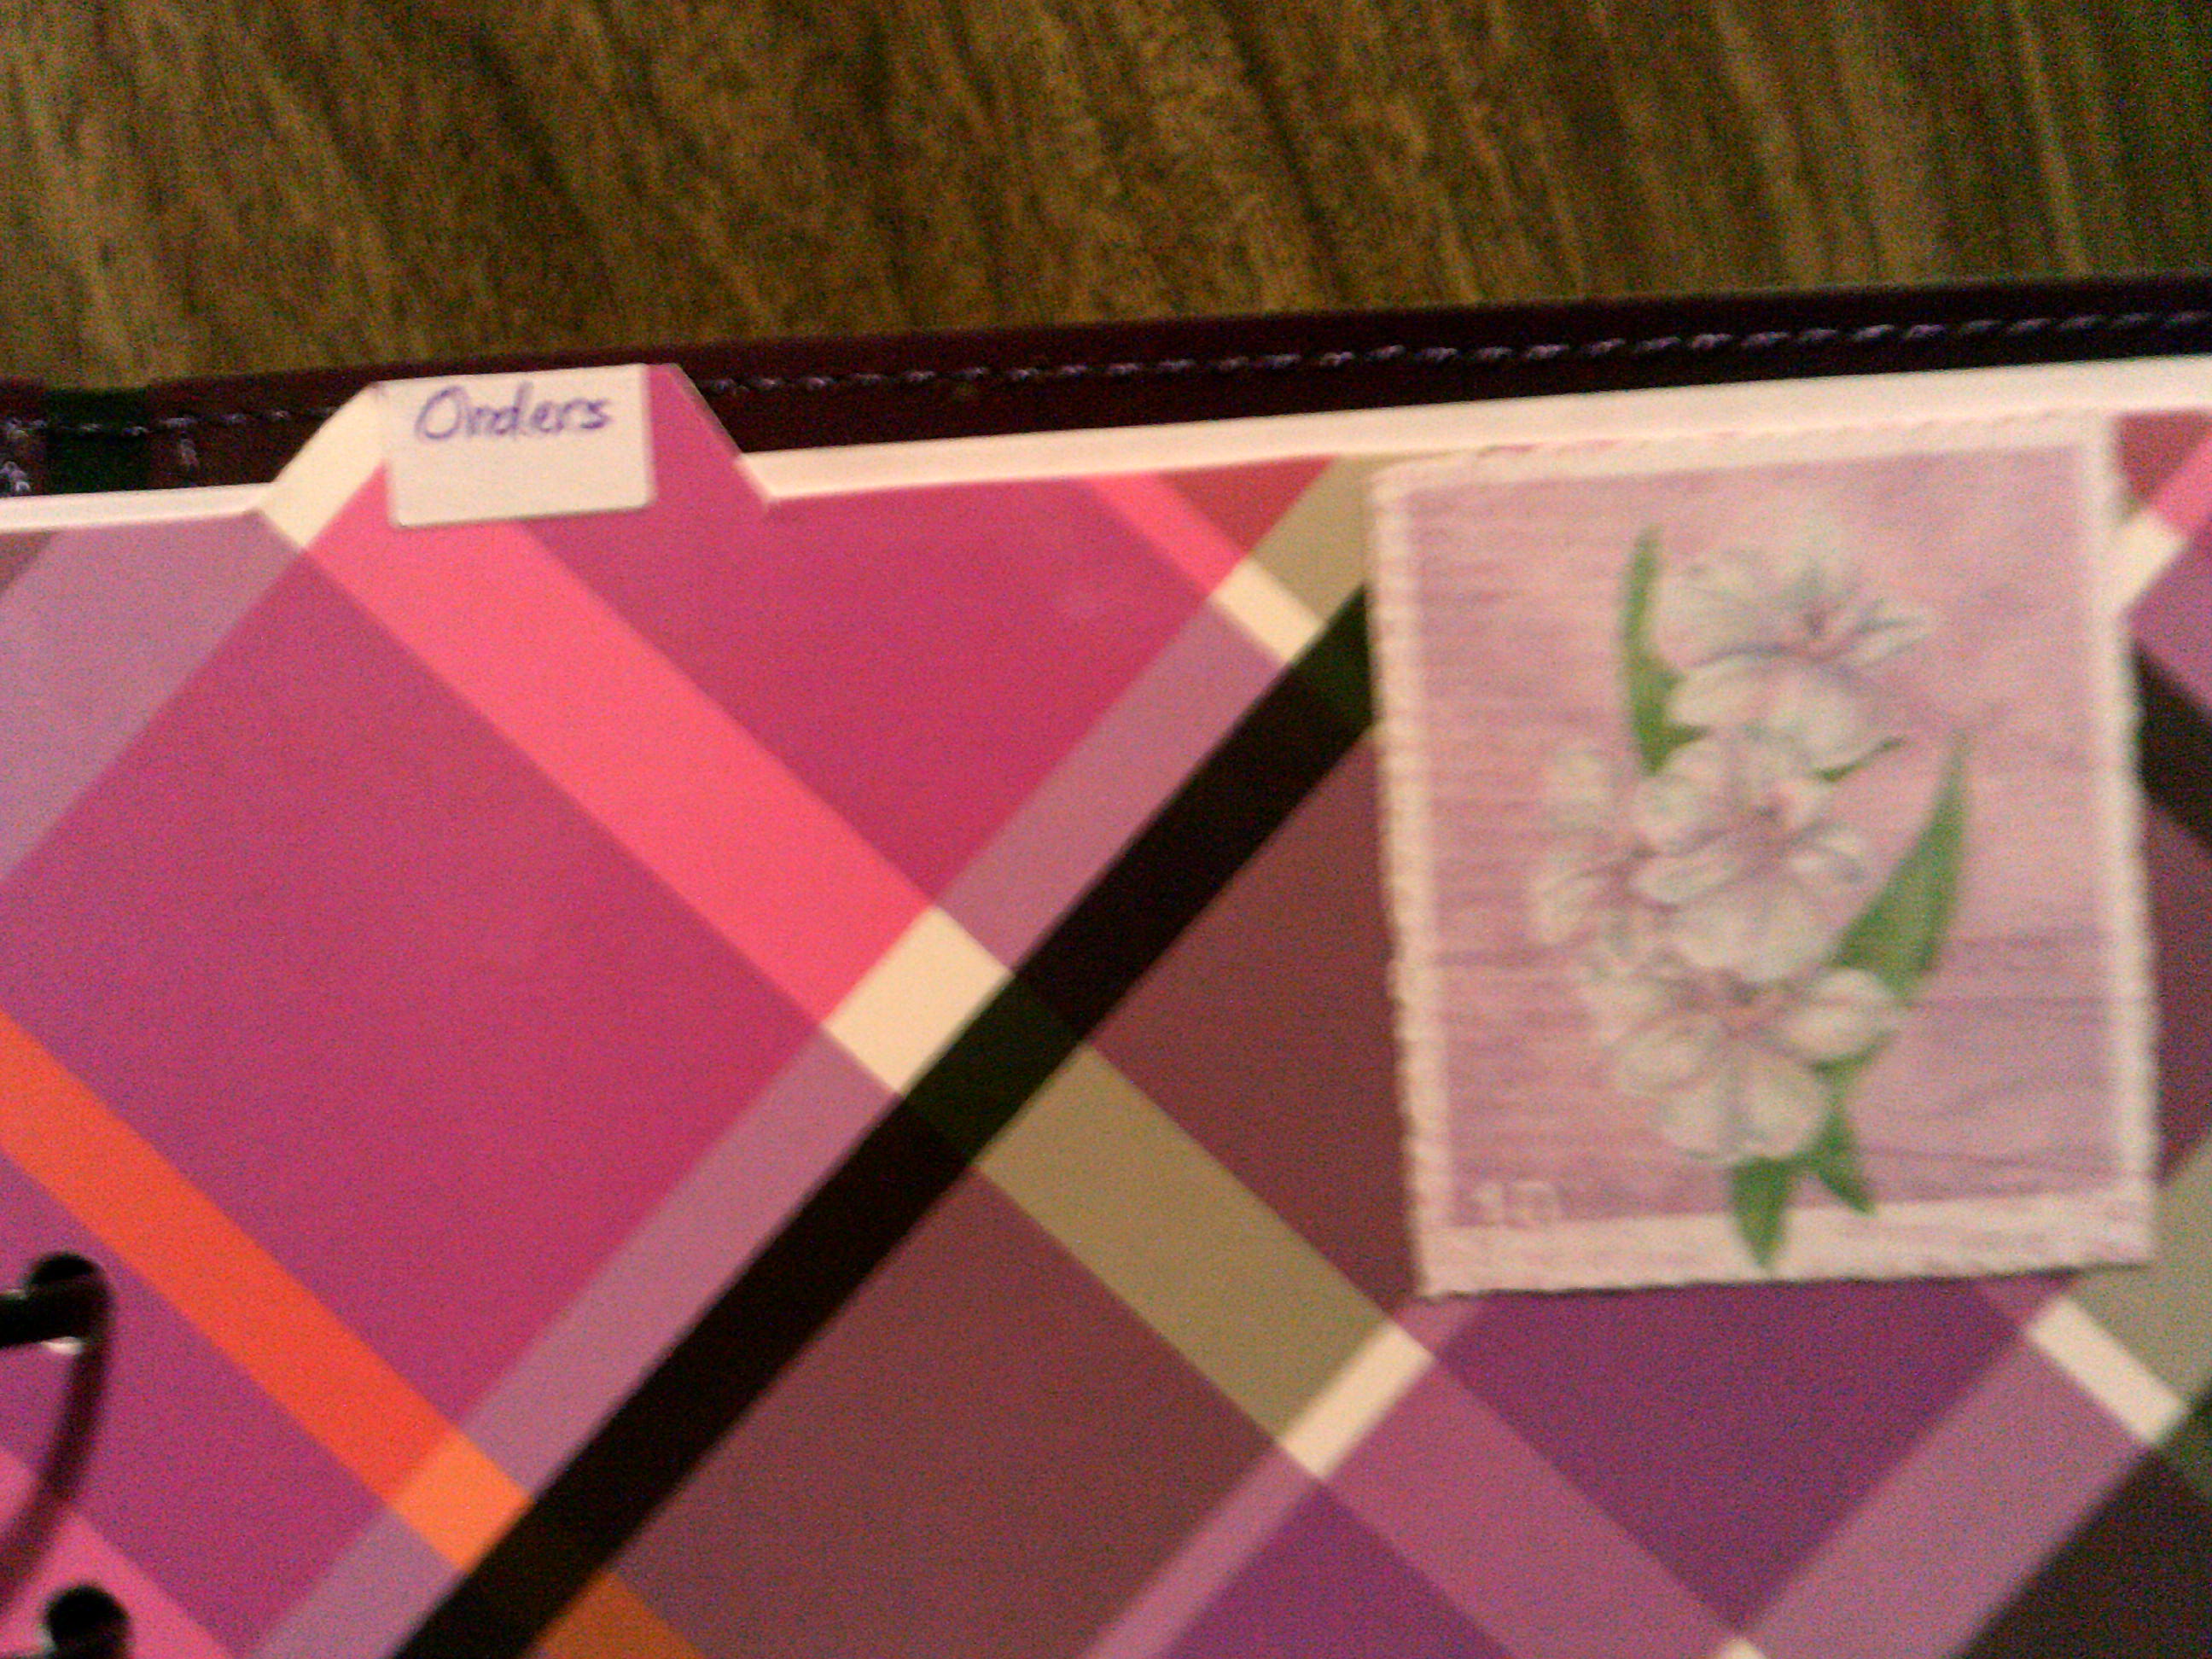
There is one top tab – Orders- for anything ordered from garden catalogues, so I know what and when I ordered, and from where.
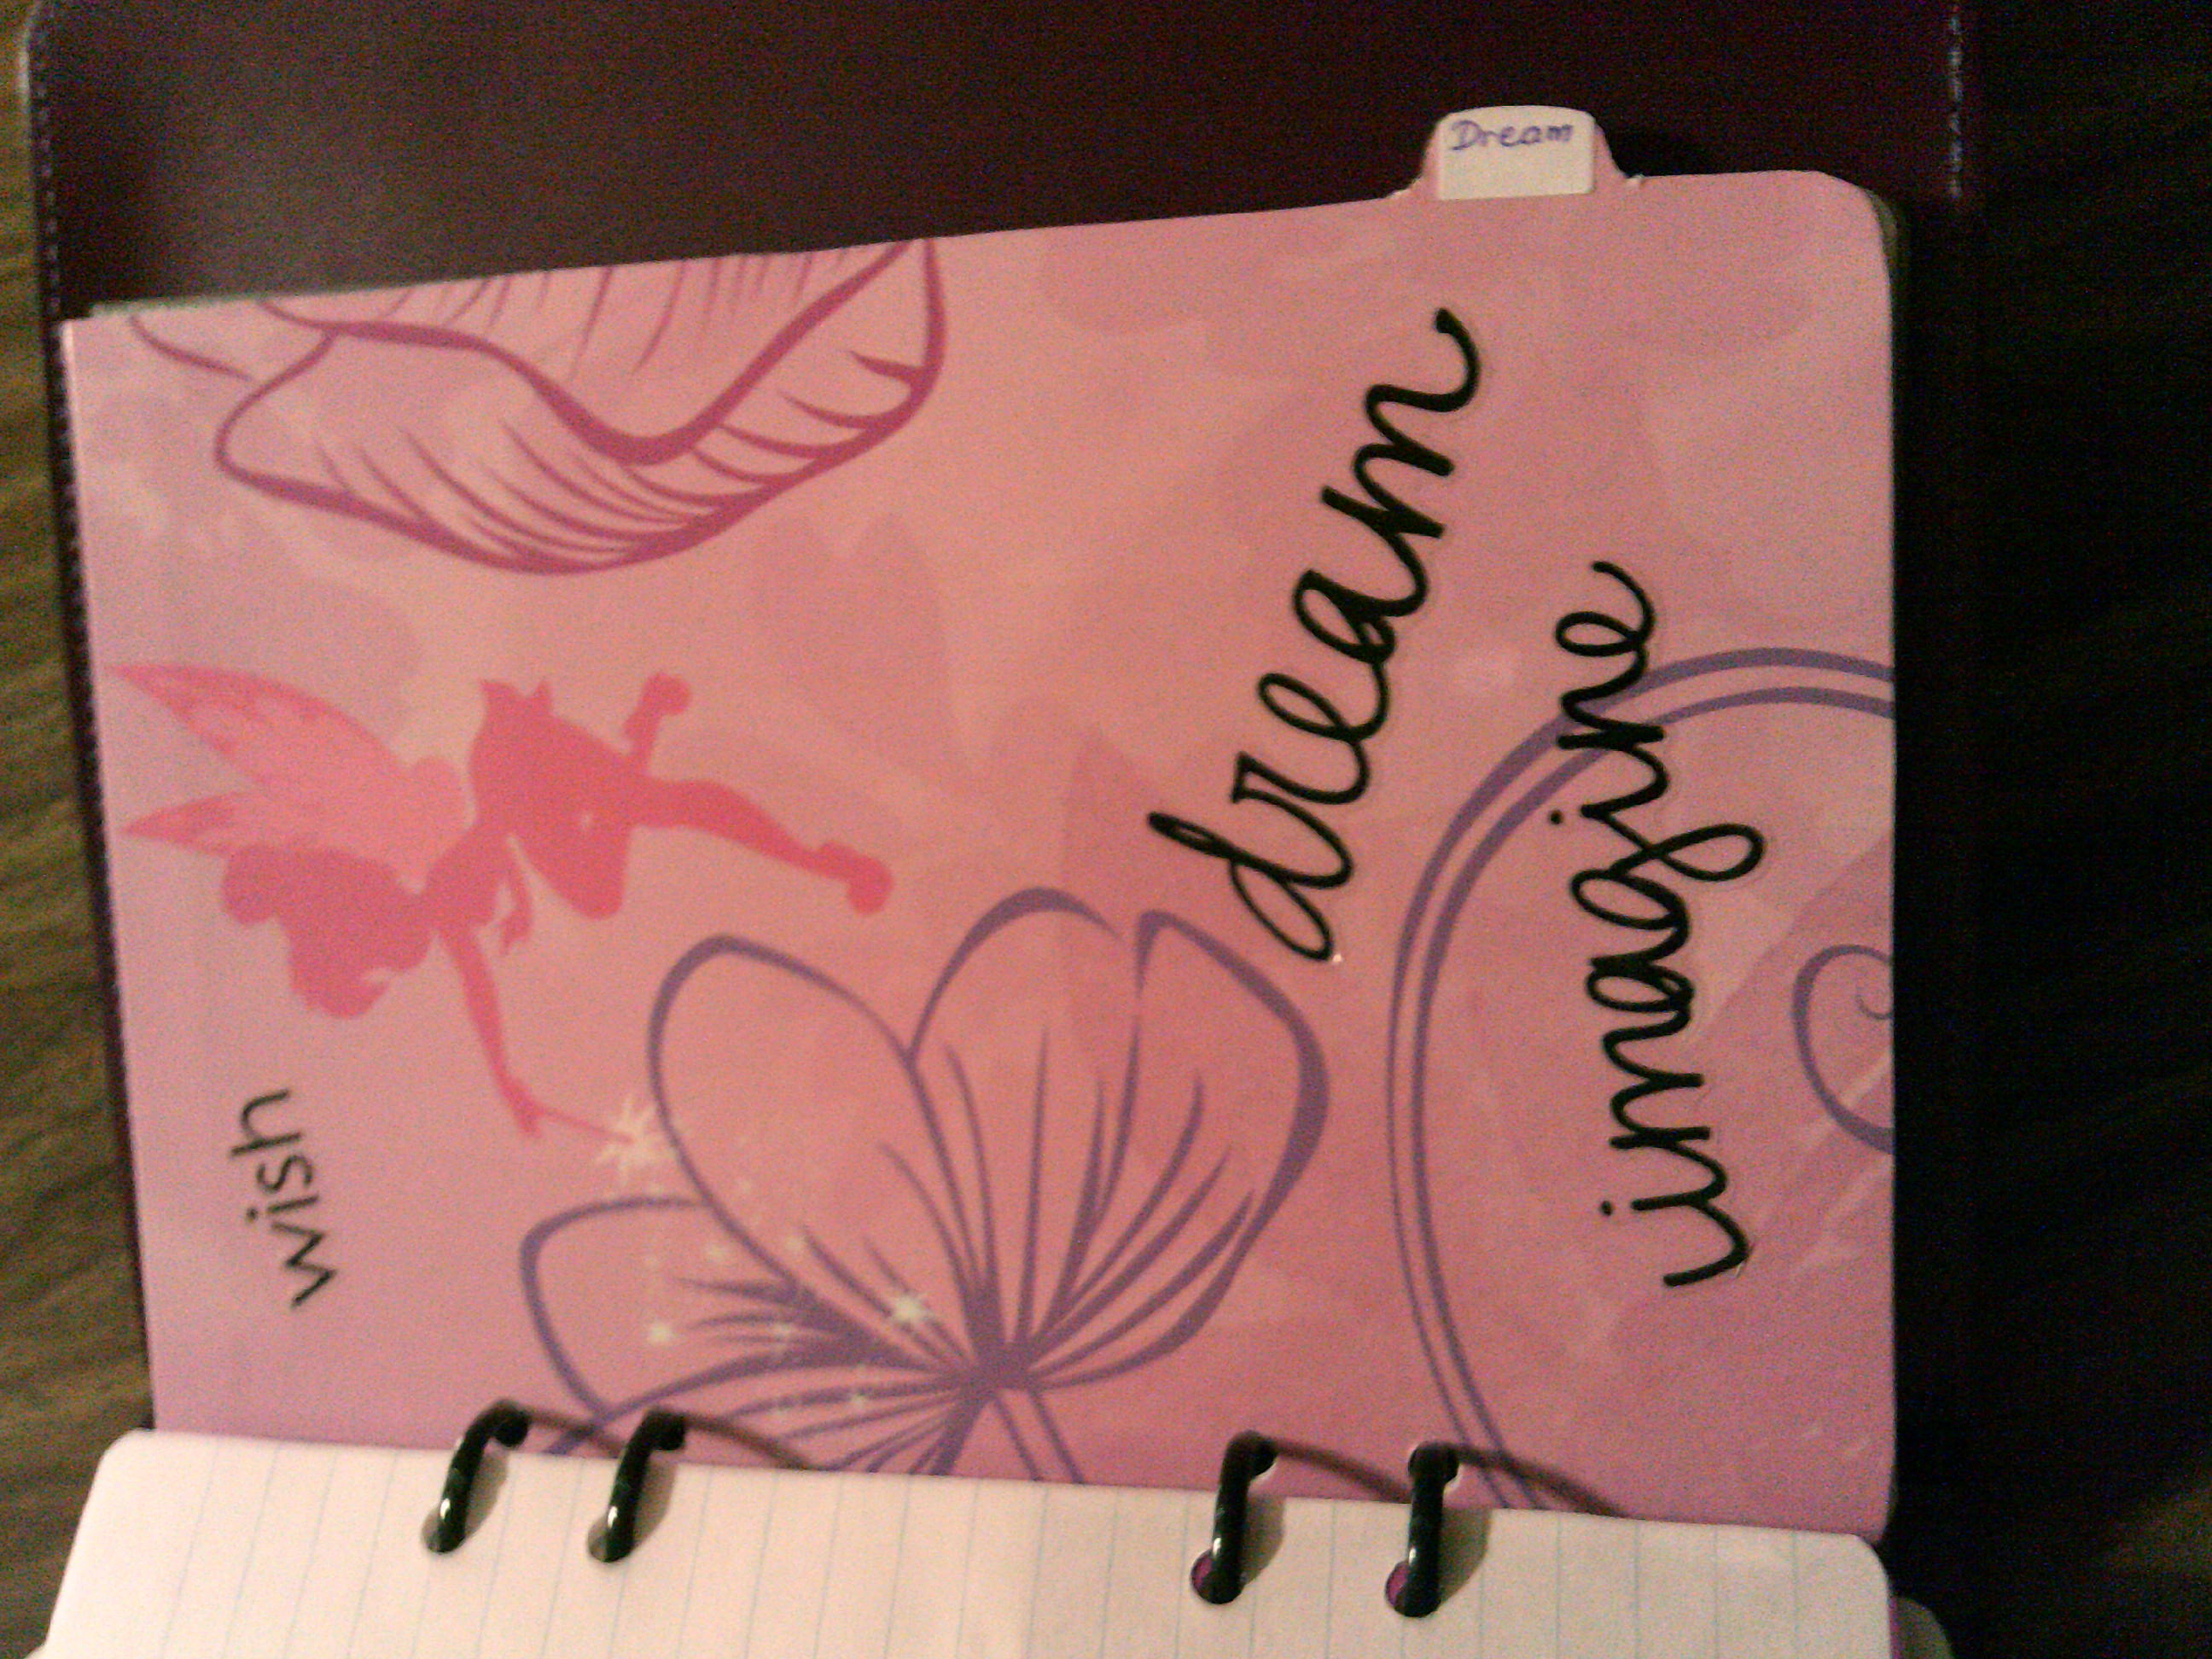
Last is the Dream tab – this is another pocket divider. Here I will write down all those things I would like to do, expansion of the garden, add a water feature, etc. A little pixie dust will be needed to help this tab along!
There you have it, folks, the planner set up for my garden project.
‘Til next time, Sherry
Loving the dividers. I wonder whether the colours will be reflected in your garden?